Streamline your real estate photography workflow

Property listings with high-quality photos receive 118% more views than those with low-quality images, yet many Airbnb hosts and rental property owners struggle to capture the attention-grabbing shots that drive bookings. The challenge often lies in the chaotic nature of real estate photography workflows, which can lead to wasted time, missed opportunities, and subpar images. An efficient workflow is not just about saving time; it's about ensuring every photo you take is a step closer to converting views into guests. By the end of this post, you'll understand how to streamline your photography process to consistently produce stunning, professional-grade images that stand out and attract more potential renters.
Prepare your equipment for efficient shoots
In real estate photography, having your equipment ready and organized can make a significant difference in the quality and efficiency of your shoots. An organized setup not only saves time but also ensures that you are always prepared to capture the perfect shot, even in unexpected situations.
Check your camera settings
Before every shoot, it's crucial to double-check your camera settings. This preparation will help you avoid common pitfalls and ensure consistency across your images. Here’s a checklist to get you started:
- ISO: Keep it low (100-400) to minimize noise.
- Aperture: Use a mid-range aperture (f/8 to f/11) for sufficient depth of field.
- Shutter Speed: Adjust according to lighting conditions but use a tripod for stability with slower speeds.
These settings form the foundation of capturing clear, high-quality images. Regularly updating your camera's firmware can also prevent technical glitches during the shoot.
Essential equipment checklist
Having the right tools at your disposal is essential. Here's a list of essential equipment to have on hand:
- Camera: A DSLR or mirrorless camera with manual settings capabilities.
- Tripod: Ensures stability and allows for longer exposure times.
- Lenses: A wide-angle lens (16-35mm) is excellent for capturing spacious interiors.
- Memory cards: High-capacity, fast cards to handle large photo files.
- Backup equipment: Spare batteries, extra memory cards, and a backup camera body.
Having backup equipment is a lifesaver when unexpected issues arise. Imagine being in the middle of a shoot and running out of battery or having a memory card failure. With backups, you can seamlessly continue your work without disruption.
By ensuring your equipment is prepped and organized, you set the stage for a smooth and successful real estate photography workflow. For further tips on improving your photography, check out Real Estate Photo Tips.
Optimize natural light for stunning images
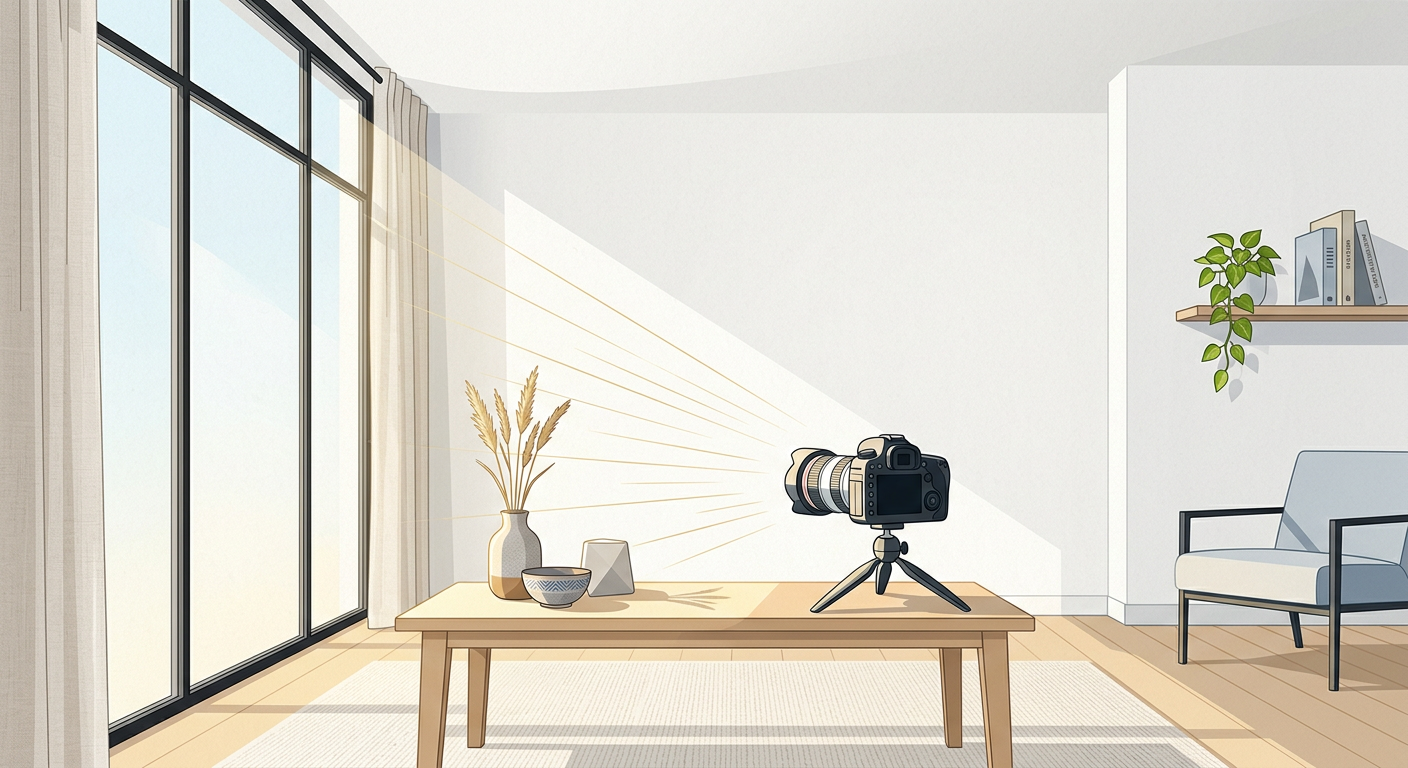
Optimizing natural light is crucial for capturing inviting and vibrant real estate photos. Proper use of sunlight not only enhances the ambiance of your property but also showcases its true potential to prospective renters. Here’s how you can make the most of natural lighting in your real estate photography workflow.
Schedule shoots during golden hours
Timing is everything when it comes to harnessing natural light. The golden hours, which occur shortly after sunrise and before sunset, offer soft and warm lighting that minimizes harsh shadows and overexposure. Here’s how to effectively plan your shoots during these optimal times:
- Plan ahead: Check the local sunrise and sunset times and schedule your shoots accordingly.
- Arrive early: Give yourself time to set up and adjust your camera settings to make the most of the fleeting golden hour light.
- Capture multiple angles: Use this time to photograph key areas of the property from various angles, ensuring you capture the best light possible.
By shooting during the golden hours, you can achieve photos with rich colors and dynamic contrast that are 30% more engaging, according to a study on real estate photography.
Avoid common lighting pitfalls
While natural light is a powerful tool, it can also lead to common pitfalls if not managed correctly. Here’s how to avoid these issues:
- Overexposure: Avoid shooting directly into the sun or reflective surfaces like windows and mirrors, which can cause overexposure. Instead, position your camera to take advantage of indirect sunlight.
- Adjust blinds and curtains: Use window treatments to control the amount of light entering the room. Partially closing blinds or curtains can diffuse harsh sunlight, creating a softer, more even illumination.
- Strategic camera placement: Position your camera so that the light falls on the subject rather than from behind it. This ensures that the scene is well-lit without unwanted shadows.
Applying these techniques will help you create balanced, naturally lit images that captivate potential renters. For more insights on capturing stunning twilight shots, explore our guide on Real Estate Twilight Photography.
Compose shots that captivate potential renters
Creating engaging photos is a nuanced task that requires attention to detail and a keen eye for composition. The arrangement of elements within a photo can greatly influence its impact on potential renters. By mastering composition, you can highlight the best features of a property and create an emotional connection with viewers.
Master the rule of thirds
One fundamental technique to elevate your photos is the rule of thirds. This involves dividing the frame into nine equal parts using two horizontal and two vertical lines. Positioning key elements along these lines or at their intersections can make your images more balanced and visually appealing.
- Align focal points: Place important features, such as a stunning fireplace or an expansive window, at the intersection points to draw the viewer's eye naturally.
- Balance elements: Ensure that the photo is not heavily weighted to one side. Distribute visual interest across the frame to maintain balance.
- Create depth: Use the rule of thirds to include foreground, midground, and background elements, adding depth and dimension to your photos.
For more detailed insights, check out our Real Estate Photo Composition Tips.
Focus on key features and avoid clutter
To make your property stand out, it's crucial to focus on its unique selling points while keeping distractions to a minimum.
- Highlight special features: Capture elements that set your property apart, whether it's a luxurious bathroom or a panoramic view. These features should be the centerpiece of your photos.
- Eliminate clutter: Before shooting, tidy up spaces to ensure they look inviting and spacious. Remove unnecessary items that could distract from the room’s appeal.
- Capture wide angles: Use wide-angle shots to showcase the full scope of a room. This perspective not only provides context but also gives potential renters a comprehensive view of the property.
By strategically composing your shots, you can create compelling images that resonate with viewers and enhance the desirability of your rental property.
Enhance images with the right editing techniques
Elevating your real estate photos from good to great often hinges on the editing process. By fine-tuning each image, you can highlight the property's best features and make it more appealing to potential renters. Effective editing not only enhances the aesthetic appeal but also ensures that images accurately represent the space, helping to set realistic expectations for guests.
Avoid over-editing for natural results
Maintaining a natural look in your photos is crucial in real estate photography. Over-editing can lead to images that appear artificial and misleading, which might disappoint renters upon arrival. To achieve a balance, focus on subtle enhancements rather than drastic changes.
- Preserve natural light: Ensure that your edits do not alter the natural lighting of the space. Over-brightening can wash out details, while excessive contrast might create unrealistic shadows.
- Retain true colors: Avoid heavy color saturation. Instead, aim to enhance the existing hues to reflect the true ambiance of the property.
- Highlight authentic textures: Let the natural materials, like wood grain or stone surfaces, shine through without heavy filters that might obscure their genuine appearance.
Basic editing steps for impactful photos
To streamline your editing workflow, consider following these basic steps. They will help you make efficient yet impactful improvements to your photos:
- Adjust brightness and contrast: Start by ensuring each image is well-lit and clear. This step enhances visibility and ensures that details stand out.
- Correct colors: Use color correction tools to ensure that the colors in your images are accurate and true-to-life. This is particularly important for representing the property faithfully.
- Crop for impact: Remove unnecessary elements by cropping your images. Focus on the key features and composition to ensure the primary elements are front and center.
By adhering to these editing principles, you can create images that not only capture the essence of your property but also entice potential guests. For more advanced techniques and software options, explore our guide on Real Estate Photo Editing Software.
Streamline your post-production workflow
An essential part of an effective real estate photography workflow is ensuring your post-production process is as streamlined as possible. This efficiency not only saves you time but also helps maintain the quality and organization of your work.
Set up an efficient file naming system
A crucial first step is to establish a consistent file naming system. This helps you quickly locate and identify images, especially when dealing with multiple properties.
- Create a naming convention: Use a format such as "Property-Name_Date_Room-Name". For example, "Sunset-Villa_2023-10-05_Living-Room".
- Apply consistently: Make sure to rename files immediately after downloading them from your camera. This reduces confusion and ensures consistency.
- Use batch renaming tools: If you're dealing with a large volume of photos, consider using software that allows batch renaming to save time.
Organize and back up your files
After capturing the photos, it's vital to download and sort them into organized folders. This step is critical to maintain order and security of your work.
- Download images immediately: Transfer files to your computer as soon as possible to prevent data loss.
- Create a folder structure: Organize photos into folders by property name and date. For example, you might have a main folder named "2023_RealEstate" with subfolders for each property.
- Back up externally: Use an external hard drive or a cloud service to back up your files. This ensures your work is safe in case of hardware failure. It's recommended to have at least two backup copies — one physical and one cloud-based.
By adopting these strategies, you can ensure your post-production workflow is both efficient and secure. For additional tips on improving your real estate photography, explore our Real Estate Photography Techniques.
Compare popular real estate photography tools
When it comes to real estate photography, choosing the right tools can make a significant difference in your workflow efficiency and the quality of your images. Below is a comparison of three popular tools that are often utilized by professionals in the field. This table will help you evaluate which option best suits your needs based on ease of use, functionality, and price.
| Tool Category | Ease of Use | Functionality | Price Range |
|---|---|---|---|
| DSLR Cameras | Intermediate | High resolution, interchangeable lenses | $500 - $3,000 |
| Wide-Angle Lenses | Advanced | Captures more of the space, essential for interiors | $200 - $1,500 |
| Editing Software | Beginner to Pro | Advanced editing features, presets for efficiency | $10 - $50/month |
Each tool plays a pivotal role in capturing and enhancing real estate photos. DSLR cameras offer versatility and image quality, wide-angle lenses are crucial for showcasing interior spaces, and editing software enables you to fine-tune your photos to perfection. Consider these factors carefully to streamline your real estate photography workflow effectively.
Frequently asked questions
Do I really need a wide-angle lens for this?
A wide-angle lens is highly recommended for real estate photography as it helps capture more of the room in a single shot. This is particularly useful for smaller spaces where you want to convey a sense of openness. A lens with a focal length between 14mm and 24mm is typically ideal for interiors, allowing you to showcase the entire space without distortion.
How can I shoot effectively in small spaces?
Shooting in small spaces can be challenging, but there are several techniques to maximize the visual appeal. Use a wide-angle lens to capture more of the room and try shooting from the corners to provide a more comprehensive view. Additionally, declutter the space to make it appear larger and more inviting, and ensure that the camera is level to avoid any distortion.
What are the best times for natural lighting?
The best times for natural lighting in real estate photography are generally during the golden hours—shortly after sunrise and just before sunset. During these times, the light is softer and warmer, which can create a more inviting atmosphere. If shooting interiors, mid-morning to early afternoon can also provide ample natural light without harsh shadows.
How do I handle mixed lighting situations?
Handling mixed lighting situations requires balancing different light sources to achieve a natural look. Consider using supplemental lighting, such as portable LED panels, to fill in shadows and balance the light temperature. Alternatively, bracket your exposures and use HDR techniques to blend multiple shots for a well-lit, cohesive image.
To truly elevate your real estate photography workflow, focus on mastering equipment preparation and natural lighting, as these are foundational to capturing high-quality images. Remember that careful composition and thoughtful post-production can transform good photos into captivating visuals that draw potential renters in. By implementing these techniques, you can consistently produce stunning images that enhance your listings and attract more guests.
Ready to have professional photos?
Our team transforms your existing rental photos into stunning, high-converting images that bring you more bookings. No photoshoot required. 100% refund guaranteed.
Improve My Photos →