Real estate photo tips for stunning listings
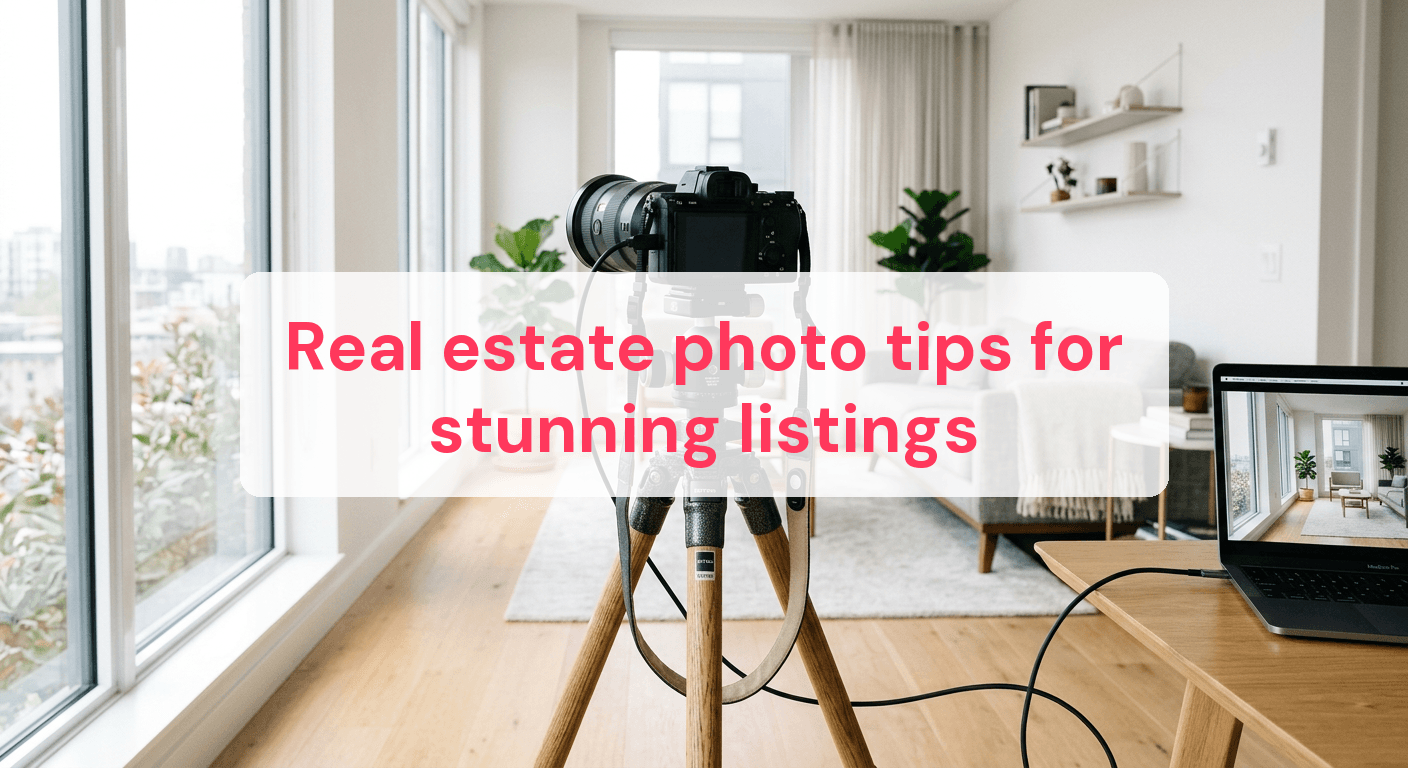
In real estate, a striking photo can mean the difference between a listing that languishes and one that draws a crowd. A whopping 90% of buyers consider photos the most crucial feature when house hunting online. This isn't just true for traditional real estate; it applies to short-term rentals too. Airbnb hosts and property managers face stiff competition, where a single eye-catching photo can turn a casual looker into a committed guest. Great images don't just show a property; they weave a story that invites potential guests to imagine themselves there. By the end of this guide, you'll know how to create visuals that turn passive views into active bookings.
Get the lighting right before you shoot
For stunning real estate photos, natural light is your best friend. It can turn a dull room into a bright, inviting space that draws in potential guests. A well-lit photo reveals the true colors and textures of a room, making it feel more spacious and welcoming. To maximize natural light, keep these tips in mind:
Shoot during the golden hours
The golden hour—just after sunrise or before sunset—offers soft, warm lighting that enhances any room's beauty. During these times, the sun is lower, casting long shadows and a gentle glow. This lighting is perfect for highlighting architectural features and creating a welcoming atmosphere. Experiment with different times to see how the light interacts with each room. Even a slight change in the sun’s angle can make a big difference.
- Morning light is cooler and can add a fresh feel to your images.
- Evening light is warmer, adding a cozy ambiance that makes a space feel more intimate.
For more on optimizing your camera settings during these times, check out our guide on Best Camera Settings Real Estate.
Use diffusers to soften harsh shadows
Natural light is ideal, but it often needs a bit of help. Direct sunlight can create harsh shadows that obscure details and detract from the image. A simple solution is to use a diffuser. By placing a diffuser between the light source and the subject, you can soften these shadows and create a more balanced exposure. This technique is especially useful when photographing rooms with large windows or when the sun is particularly strong.
- White curtains or professional diffusers can be effective tools.
- Aim for even lighting across the room to avoid unappealing contrasts.
Avoid relying solely on artificial light
Artificial lights often cast unnatural colors and shadows, making photos feel less authentic. It's tempting to use overhead lights or lamps, especially in dim rooms, but this can lead to inconsistent lighting. Instead, focus on maximizing natural light and use artificial sources sparingly. If you need extra light, consider using LED panels or reflectors to maintain a natural look.
By mastering the use of light, you can significantly enhance your real estate photos, making them more appealing to potential renters.
Choose the right angles for spacious feel
Creating the illusion of space in your real estate photos can greatly enhance your property's appeal. Camera angles are crucial in how a room's dimensions and features are perceived.
Maximize space by shooting from corners
Shooting from a room's corners can dramatically increase the perceived size of the space. By positioning yourself in a corner, you can capture more of the room in a single shot, helping potential renters visualize the full layout.
- Position the camera at eye level: This provides a natural perspective and ensures the room's features are captured accurately.
- Use a tripod: This helps maintain a steady shot and allows precise camera adjustments.
- Angle the camera diagonally: Aim to include two walls in the frame, creating a sense of depth and openness.
- Include the ceiling and floor: This gives a complete view of the space and enhances the feeling of roominess.
Avoid distortion with a wide-angle lens
Wide-angle lenses can be tricky. They capture more of the room but can introduce distortion if not used carefully. Avoid common pitfalls by:
- Keeping the camera level: Tilting the camera up or down can exaggerate distortion, making walls and lines appear curved.
- Staying mindful of the edges: Subjects near the frame's edge can appear stretched. Keep key features centered.
- Using a focal length of at least 14mm: This helps capture more space without excessive distortion.
For more advice on the best equipment for stunning real estate photos, check out our guide on Airbnb Photography Equipment Essentials.

Stage your space to highlight key features
Staging is a powerful tool in real estate photography. It highlights your property's unique aspects, drawing potential renters into a visual experience that showcases the best of what you offer. Thoughtful staging can turn an ordinary room into a captivating space that tells a story.
Declutter and create focus
A clutter-free environment is essential for highlighting a room's features. By removing unnecessary items, you create a sense of space and direct attention to the room's amenities.
- Remove personal items: Personal photos and knick-knacks can distract potential renters. Keep surfaces clear to emphasize the room's functionality and style.
- Highlight key features: Draw attention to standout elements like a fireplace or a statement piece of furniture. Use a few well-chosen accessories to complement these features.
- Use pops of color: Introduce color through cushions, throws, or artwork. A vibrant pillow or striking piece of art can add life to a neutral palette and make the space memorable.
Avoid common staging errors
While staging can enhance a property, overdoing it can have the opposite effect. It's important to strike a balance to keep the space inviting yet realistic.
- Avoid over-decorating: Too many decorations can overwhelm a room and obscure its best features. Stick to the essentials and let the space breathe.
- Don't ignore scale: Ensure that furniture and decor are proportionate to the room size. A massive sofa in a small living room can make the area feel cramped.
- Keep lighting in mind: Overhead lights can be harsh; instead, use lamps to create a warm, welcoming atmosphere.
For more insights on staging and photography, explore our Photography Tips for Rental Properties.
Enhance photos with easy editing techniques
In real estate photography, editing is where good photos become great. Simple adjustments can dramatically enhance your images' appeal and help your listing stand out.
Adjust brightness and contrast
Start by ensuring the brightness and contrast are balanced. A well-lit photo can highlight a room's best features, making it appear more inviting. If the natural light wasn't ideal during your shoot, increasing the brightness can simulate a sunnier day. Adjusting the contrast can make colors pop and details more pronounced, giving the image a crisp, clean look. Aim to make the brightest whites and darkest blacks clear and defined without losing detail.
Color correction to match reality
Color correction ensures photos match the property's actual look and feel. Sometimes, indoor lighting can cast a yellow or blue tint over images. By correcting the white balance, you can neutralize these tints and present the property in its true colors. Use color correction tools to adjust hues subtly, ensuring walls look white, not yellow, and wood floors appear warm and inviting.
Avoid over-editing
While editing is crucial, avoid over-editing. Overdone images can appear unnatural and may lead to disappointment when guests see the property in person. To maintain a realistic look:
- Avoid excessive saturation: Bright colors can be appealing, but too much saturation can make photos look artificial.
- Limit sharpening: While sharpening can enhance details, overdoing it can introduce noise and make images look harsh.
- Keep an eye on the shadows: Brightening shadows too much can flatten the image, losing the sense of depth.
For those looking to refine their editing skills, there are many software options available. Some popular tools include:
- Adobe Lightroom
- GIMP
- Snapseed
- Pixlr
Each tool offers unique features for different skill levels and requirements. To explore these options further, check out our comprehensive guide on Real Estate Photo Editing Software. By mastering these editing techniques, you can ensure your photos capture and elevate your property's true essence.
Craft a narrative with your photo composition
Creating a visual narrative with your photos can turn a simple property listing into a compelling story. A well-crafted composition invites potential guests to imagine themselves in the space, increasing the likelihood they'll book. By guiding the viewer's eye through a sequence of images, you can highlight the property's best features and create a sense of flow from one room to another.
Use the Rule of Thirds for Balanced Imagery
The rule of thirds is a powerful tool for achieving balanced and engaging images. By dividing your frame into a grid of nine equal parts, you can place points of interest along the grid lines or at their intersections. This technique helps create more dynamic and interesting compositions compared to centering everything. For instance, positioning a cozy armchair near a window at one of the intersections can draw attention to both the furniture and the view outside, enhancing the room's appeal.
Steps to Create a Visual Narrative
Crafting a narrative with your photos involves more than just snapping shots of each room. Follow these steps to create a cohesive and inviting story:
- Start with the entryway: Capture the first impression guests will have. Use a wide-angle shot to show the welcoming space.
- Move room by room: Follow the natural flow of the property. After the entryway, guide viewers to the living room, kitchen, and other common areas.
- Highlight transitions: Use doorways and hallways as transitional elements. This encourages viewers to imagine moving through the space.
- Focus on details: Include close-ups of unique features like a vintage fireplace or a modern kitchen island.
- Conclude with outdoor spaces: If the property has a garden or patio, end your narrative with these areas to leave a lasting impression.
By following these steps, you can create a visual journey that not only showcases the property's layout but also evokes emotions and aspirations. For more insights on mastering photo composition, visit our Real Estate Photo Composition Tips.
Compare photo editing tools
Choosing the right photo editing tool can significantly impact the quality of your real estate images. With various options available, consider factors like ease of use, available features, and cost. Here's a comparison of some popular photo editing tools to help you decide which one best suits your needs.
| Tool | Ease of Use | Features | Cost |
|---|---|---|---|
| Lightroom | User-friendly | Presets, batch processing, color grading | Subscription model |
| Photoshop | Moderate | Advanced editing, layers, extensive tools | Subscription model |
| GIMP | Moderate to complex | Free, open-source, customizable | Free |
| Canva | Easy | Templates, basic editing, design tools | Free and paid plans |
| Snapseed | Easy | Mobile-friendly, filters, basic adjustments | Free |
This table should guide you in selecting a tool that aligns with your editing skills and budget while providing the features you need to enhance your rental property photos effectively.
Common Questions
Do I really need a wide-angle lens for this?
A wide-angle lens can be incredibly beneficial when photographing real estate, as it captures more of the room in a single shot and can make spaces appear larger and more inviting. While not strictly necessary, a wide-angle lens helps in showcasing entire rooms, especially in smaller properties where space is at a premium. Consider using a lens with a focal length between 10mm and 24mm for optimal results.
What's the best time of day to take photos?
The ideal time to take real estate photos is during the "golden hours," which occur shortly after sunrise and just before sunset. During these times, natural light is soft and warm, reducing harsh shadows and providing a more inviting atmosphere. If shooting interiors, aim for late morning or early afternoon when natural light is abundant but not overly bright.
How can I make small spaces look bigger?
To make small spaces appear larger, use techniques like shooting from the room's corners and employing a wide-angle lens. Declutter the space to create an open and airy feel, and strategically place mirrors to reflect light and give the illusion of depth. Additionally, maintain a consistent color palette to create a seamless flow throughout the space.
Is it necessary to use a tripod for real estate photography?
Using a tripod is highly recommended for real estate photography as it ensures stability and allows for longer exposure times in low-light situations without introducing blur. It also helps maintain consistent framing and composition across shots. For the best results, pair your tripod with a camera that has a built-in level to ensure perfectly aligned images.
Mastering the art of real estate photography can significantly enhance your property's appeal and attract potential guests. Use natural light and optimal angles to create inviting and spacious visuals. By staging your space thoughtfully and enhancing your images with simple editing techniques, you can craft a compelling narrative that resonates with viewers. Implement these strategies to elevate your listing and turn casual browsers into eager bookers.
Ready to have professional photos?
Our team transforms your existing rental photos into stunning, high-converting images that bring you more bookings. No photoshoot required. 100% refund guaranteed.
Improve My Photos →