Photography tips for standout rental properties
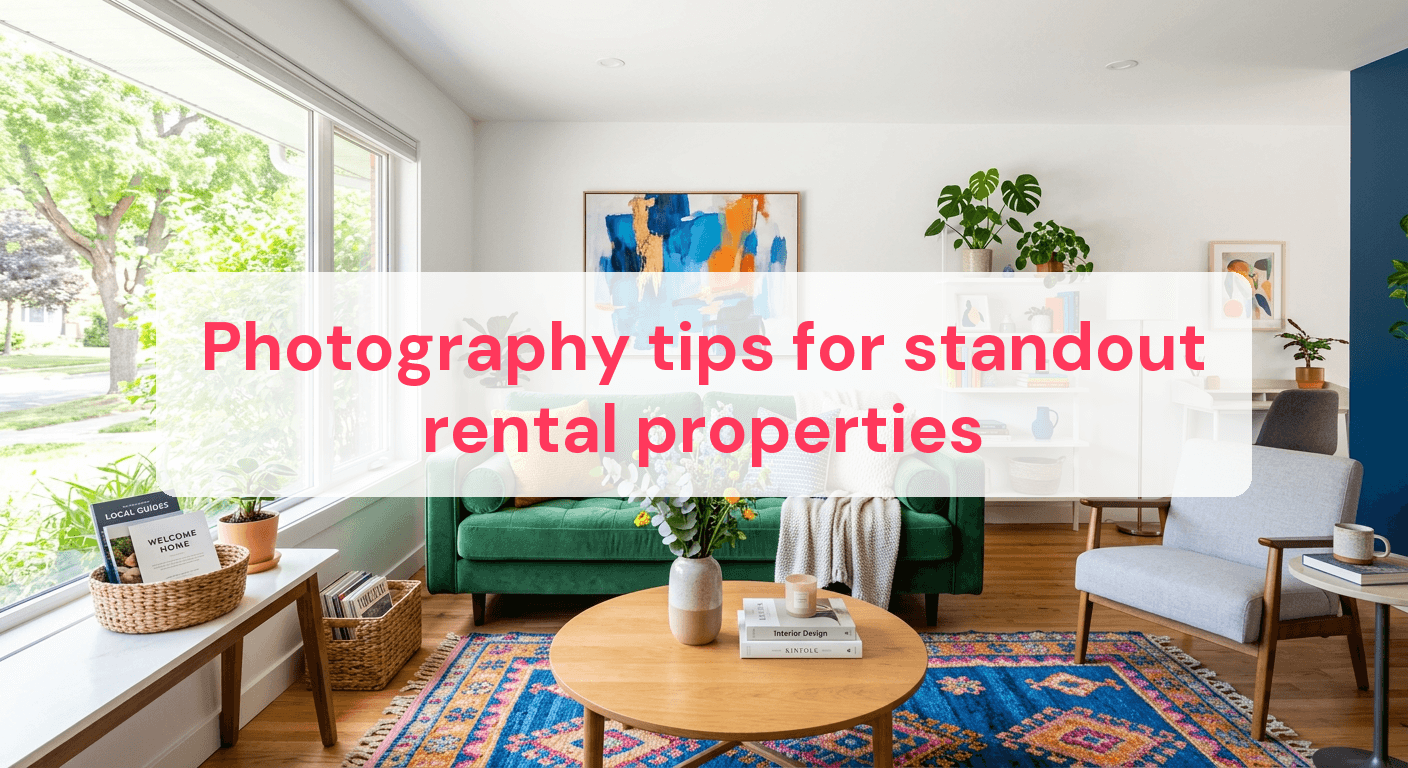
In the world of short-term rentals, a single image can make or break a booking. A study by a top vacation rental platform found that listings with professional photos get 40% more bookings than those with amateur ones. Take Jane, an Airbnb host in Austin, Texas: after updating her property's photos with better lighting and composition, she saw a 30% jump in occupancy in just a month. Great images don't just grab attention—they tell a story that connects with potential guests. By the end of this article, you'll know how to take photos that not only highlight your property's unique features but also boost bookings and interest.
Master natural lighting for inviting photos
Natural light can turn your rental property images from dull to dazzling. It highlights true colors and brings warmth that artificial lighting can't match. Here's how to use it effectively.
Timing is everything: Capture the golden hour
Taking photos during the golden hour—just after sunrise or before sunset—can dramatically improve your images. This time offers soft, diffused light that minimizes harsh shadows and adds a warm glow. Here's why it matters:
- Soft Shadows: Midday sun creates harsh shadows. Golden hour light is softer, smoothing shadows and reducing glare.
- Warm Tones: The light's natural warmth during these times adds a cozy feel to your photos.
- Enhanced Colors: Colors look richer and more vibrant, making your space more appealing.
Try taking photos at different times to see how the changing light affects your space.
Avoiding common lighting mistakes
Even with perfect timing, poor lighting choices can ruin your efforts. Avoid these mistakes to ensure your photos shine:
- Open Curtains and Blinds: Maximize natural light by opening curtains and adjusting blinds. This fills the room with light and can make spaces look larger.
- Turn Off Artificial Lights: Mixing natural and artificial light can create uneven color temperatures. Stick to natural light for a consistent look.
- Beware of Reflections: Position yourself and the camera to avoid unwanted reflections in mirrors or windows, which can distract from the main focus.
By focusing on these details, you can create inviting photos that showcase the charm of your rental property. For more on composition techniques, check out our guide on Real Estate Photo Composition Tips.
Stage spaces for maximum appeal
Creating inviting spaces in your rental property is all about the right staging techniques. A well-staged room can significantly impact how potential guests view your listing. Here’s how to start.
Simple staging tricks that work
Even small changes can greatly improve a room's appearance. Here are some effective tricks:
-
Declutter: A clean space looks larger and more welcoming. Remove personal items and excess furniture. Aim for a minimalist look that lets guests imagine themselves in the space.
-
Add pops of color: Use accessories like cushions, throws, or artwork to add vibrant colors. This makes a room feel lively. Choose a color scheme that complements your property’s overall aesthetic.
-
Use mirrors to enhance space: Mirrors can make an area look larger by reflecting light and views. Place them strategically across from windows or artwork to maximize this effect.
The impact of thoughtful arrangement
Beyond individual tricks, the overall arrangement is crucial in staging. Consider these points:
-
Furniture Placement: Arrange furniture to create a natural flow. Ensure there’s enough space to move around comfortably, especially in smaller rooms. An inviting setup encourages guests to explore and relax.
-
Lighting: Layered lighting adds depth and warmth. Use table lamps and floor lamps to create cozy corners, particularly in living areas and bedrooms.
-
Cohesion: Maintain a cohesive look by sticking to a consistent style throughout the property. This might mean choosing similar tones and textures for different rooms.
Staged homes can sell up to 20% faster and are often seen as more valuable. Applying these principles to your rental property can similarly enhance its appeal. For more on equipment that can help showcase your space, see our guide on Rental Property Photography Tips.

Choose the right angle for each room
The angle from which you photograph a space can greatly influence how it’s perceived by potential guests. The right angle can make a room look more spacious, inviting, and well-lit. An unflattering angle might highlight imperfections or make a room appear smaller and cramped.
Experiment with multiple angles
Before settling on a final shot, experiment with various angles. This can reveal surprising perspectives that enhance your property's appeal. Here’s how:
- Shoot from the corners: Positioning your camera in a corner can capture more of the room in a single frame, showcasing both depth and scale.
- Eye-level shots: For most rooms, keep the camera at eye level (about 5 feet from the floor). This maintains a natural perspective and avoids distortion.
- Highlight features: If the room has a unique feature, like a fireplace or bay window, angle your shot to emphasize these elements. It makes the space more memorable.
Mistakes to avoid with angles
While experimenting is key, avoid these common pitfalls:
- Avoid extreme angles: High or low angles can distort the room’s proportions, making it less appealing. Stick to angles that flatter the space's natural dimensions.
- Don’t ignore vertical lines: Keeping vertical lines straight is crucial. Tilted lines can make the photo look unbalanced and amateurish. Use a tripod with a level to help maintain alignment.
- Clutter in the foreground: Ensure unsightly items like cables or personal belongings aren't obstructing the view. A clean foreground directs attention to the room's best features.
By thoughtfully choosing angles, you can significantly enhance the visual appeal of your listings. For more insights on capturing the perfect shot, consider exploring Real Estate Photography Tips.
Use the right equipment for crisp images
Investing in the right photography gear can noticeably improve the quality of your rental property images. Crisp, clear photos grab the attention of potential guests and convey professionalism and care. Here’s what you need to know about choosing the right equipment.
Do you need professional gear?
You might wonder if professional camera gear is necessary for great rental photos. The answer depends on your goals and budget. Professional gear can elevate your images, offering higher resolution and better low-light performance. However, you don't need the latest high-end camera to get excellent results. Knowing how to use the equipment you have is often more important than the gear itself.
For beginners, a DSLR or mirrorless camera with interchangeable lenses offers flexibility and control. Pairing this with a tripod ensures stability, crucial for sharp images, especially in low light. Even a smartphone, when used with proper techniques, can produce stunning images.
Essential equipment for high-quality photos
To capture standout images for your rental property, consider these essentials:
- Wide-angle lens: A wide-angle lens helps you capture more of the room in a single shot, making spaces appear larger and more inviting. Look for lenses with focal lengths between 16-24mm for optimal results. For more information, check out Best Lenses Real Estate.
- Tripod: This is indispensable for maintaining stability and ensuring straight vertical lines. It also allows you to experiment with longer exposure times, which is beneficial in low-light scenarios.
- External flash or lighting: Sometimes, natural light isn't enough, especially in rooms with limited windows. An external flash can help illuminate the space without washing out details.
- Lens cleaning kit: Dust and smudges can ruin an otherwise perfect shot. Regularly cleaning your lenses helps maintain image clarity.
By equipping yourself with the right tools and understanding how to use them effectively, you can create images that not only attract potential guests but also increase your listing's perceived value.
Edit photos to highlight the property's best features
Editing your photos can turn a good image into a great one by emphasizing your property's unique features. With the right tweaks, you can make rooms look more inviting and highlight architectural details that might otherwise go unnoticed. Here are some techniques to focus on when editing your rental property photos.
Adjust brightness and contrast for clarity
One of the simplest yet most effective edits is adjusting the brightness and contrast. Increasing brightness can illuminate dark corners and make spaces feel more open. However, be cautious not to blow out highlights, as this can wash out important details. A subtle increase in contrast can also enhance the depth of your photos, making the textures and colors pop. Aim for a balance that maintains the natural look of the space while enhancing its best aspects.
- Increase brightness: Ensure the room looks naturally lit.
- Boost contrast: Highlight textures and create depth.
- Watch for overexposure: Avoid losing detail in bright areas.
Avoiding over-editing pitfalls
While editing can enhance your images, over-editing can have the opposite effect. Over-saturation, for instance, can make colors appear unnatural and uninviting. It's crucial to maintain a realistic presentation that potential guests can trust. Over-sharpening is another common mistake — it can introduce noise and distort edges, making your property look less appealing.
- Check saturation levels: Keep colors true to life.
- Limit sharpening: Preserve the photo's natural feel.
- Review before and after: Compare edits to the original to ensure improvements.
Remember, editing should highlight the property's true potential, not mislead or exaggerate. The key is moderation and maintaining authenticity in your photos. For more in-depth advice, explore Rental Property Photography Tips for guidance on capturing and editing your property's images effectively.
Compare popular editing software for rental photos
Choosing the right editing software can greatly impact the quality and appeal of your rental property photos. Different tools offer varying levels of functionality, user-friendliness, and cost, making it essential to pick one that aligns with your needs and skills. Below is a comparison table to help you decide which software might be the best fit for your photo editing tasks.
| Software | Cost | Key Features | Ideal For |
|---|---|---|---|
| Lightroom | $9.99/month | Presets, batch editing, non-destructive | Beginners to advanced users |
| Photoshop | $20.99/month | Comprehensive editing tools, layers | Advanced users |
| GIMP | Free | Open-source, customizable, plug-ins | Budget-conscious users |
| Luminar | $89 one-time | AI-enhanced tools, user-friendly | Intermediate users |
| Darktable | Free | Advanced color grading, raw editing | Enthusiasts and tech-savvy |
| Canva | Free/$12.95/month | Templates, easy interface, online use | Quick edits and social media |
Common Questions
Do I really need a wide-angle lens for this?
A wide-angle lens isn't strictly necessary, but it can significantly enhance your photos by capturing more of the room in a single shot. This is particularly useful for smaller spaces where a standard lens might not convey the full layout and feel of the room. Consider using a lens with a focal length of 16-24mm for the best results in capturing interiors.
Can I use my smartphone for rental photography?
Yes, you can use your smartphone for rental photography, especially if it's a newer model with a high-quality camera. Modern smartphones offer impressive capabilities like wide-angle lenses and advanced HDR features. However, using a tripod can help stabilize your shots, and editing apps can further enhance the final images.
How often should I update listing photos?
It's wise to update your listing photos every 12-18 months or whenever you make significant changes to the property's decor or layout. Fresh photos can reflect any updates or improvements and keep your listing competitive. Regular updates can also help you assess whether your photos are keeping pace with the quality of newer listings in your area.
What if my property doesn't get much natural light?
If your property lacks natural light, consider scheduling photos during the brightest part of the day to maximize available light. Use additional lighting sources like lamps or LED panels to brighten the space without creating harsh shadows. Editing software can also help adjust brightness and contrast to improve the overall appearance of your photos.
Mastering natural lighting, staging, and equipment use can significantly enhance the appeal of your rental property photos. By experimenting with angles and refining your editing skills, you're better equipped to highlight the unique features of your space. These techniques help create inviting images that attract more potential guests and turn views into bookings.
Ready to have professional photos?
Our team transforms your existing rental photos into stunning, high-converting images that bring you more bookings. No photoshoot required. 100% refund guaranteed.
Improve My Photos →