Best camera settings for stunning real estate shots
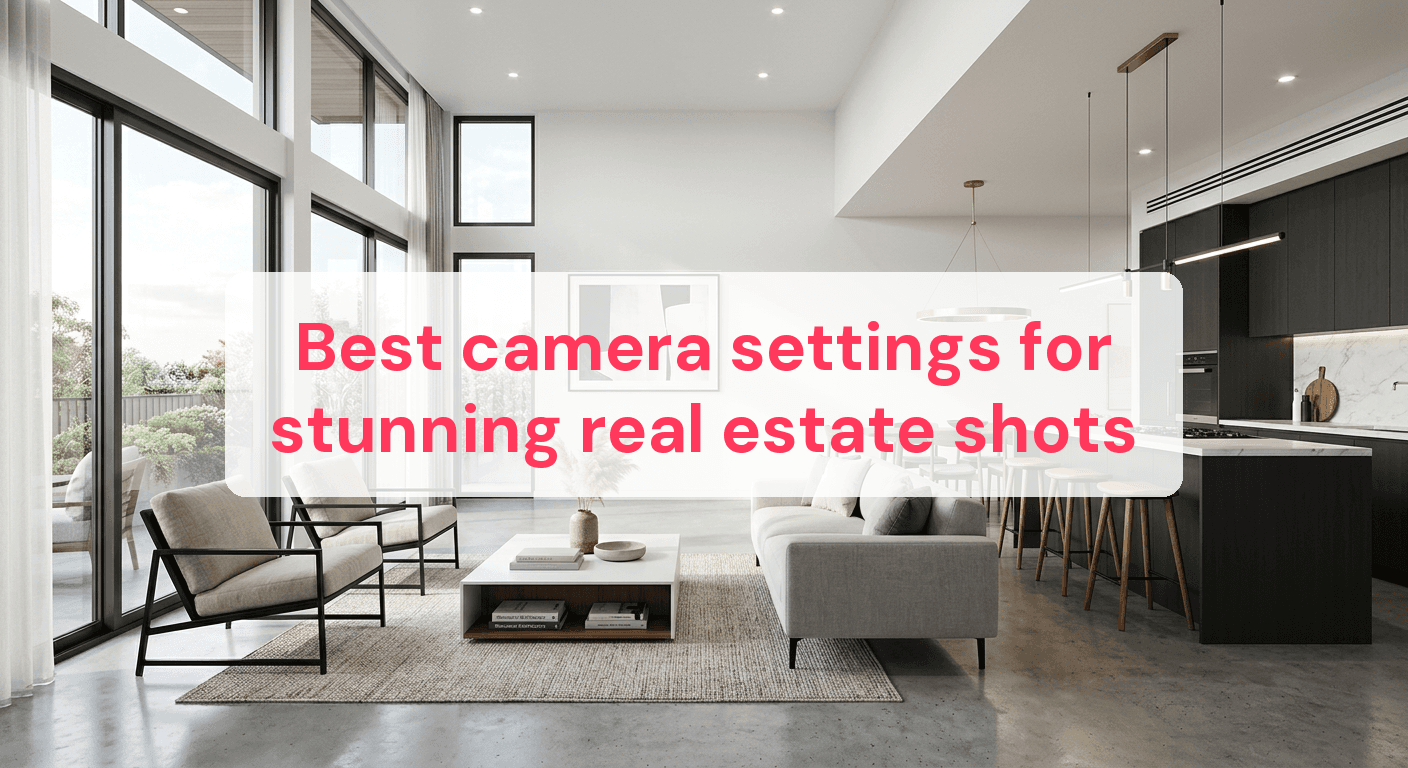
In real estate photography, 90% of potential buyers are drawn to listings based solely on the quality of the images. Yet, many property owners struggle with capturing shots that truly stand out. Common hurdles include achieving the right balance of light and ensuring every image is sharp and vibrant. This section will arm you with practical insights and camera settings to help you tackle these challenges head-on, enabling you to produce captivating images that highlight the best features of any property.
Achieve perfect exposure every time
In real estate photography, getting the exposure right is critical to showcasing a property in its best light. A well-exposed photo highlights the details, colors, and textures that make a space inviting and appealing. Here's how you can master exposure to create stunning, professional-quality images.
Master the art of exposure settings
Understanding the interplay between aperture, shutter speed, and ISO is crucial for achieving perfect exposure. These three elements, known as the exposure triangle, work together to control the amount of light hitting the camera sensor.
-
Aperture: The aperture setting affects the depth of field and the amount of light entering the camera. For real estate photography, a mid-range aperture (such as f/8 to f/11) is often ideal. This range ensures sufficient depth of field to keep both the foreground and background sharp.
-
Shutter Speed: A slower shutter speed allows more light to hit the sensor but increases the risk of motion blur. Use a tripod to stabilize your camera and opt for a shutter speed of 1/60 to 1/125 seconds to maintain sharpness while capturing enough light.
-
ISO: Adjust the ISO setting to control the camera's sensitivity to light. In well-lit environments, keep the ISO low (around 100-400) to minimize noise. In darker settings, you might need to increase it, but avoid going too high to prevent grainy images.
Balancing natural and artificial light
Striking the right balance between natural and artificial light can prevent overexposure and enhance the mood of your photos. Many photographers make the mistake of relying too heavily on one type of light, leading to images that look flat or washed out.
-
Natural Light: Use natural light to your advantage by shooting during the golden hour (shortly after sunrise or before sunset) when the light is soft and warm. Open curtains and blinds to maximize the amount of natural light entering the room.
-
Artificial Light: Supplement natural light with artificial sources like lamps and overhead lights. Be cautious with their placement and intensity to avoid creating harsh shadows or overly bright areas.
By carefully managing your camera settings and lighting sources, you can achieve well-exposed images that truly capture the essence of a property. For additional tips on enhancing your compositions, consider checking out the Real Estate Photo Composition Tips.
Capture sharp images with the right focus
Achieving sharp focus in real estate photography is crucial for showcasing the details and features of each space. A well-focused image can highlight the unique characteristics of a property, making it more appealing to potential renters. Let's explore the key techniques to ensure your photos are crisp and clear.
Mastering auto-focus and manual focus
Choosing between auto-focus and manual focus depends on the shooting conditions and your personal preference. Auto-focus is incredibly useful in well-lit environments, allowing you to quickly lock onto your subject with precision. However, sometimes auto-focus might struggle in low-light situations or when dealing with reflective surfaces, such as glass or polished floors. In these cases, manual focus can be a lifesaver, giving you complete control over the focus point.
- Auto-Focus Tips:
- Use single-point AF for more control over the focus area, especially when capturing detailed shots of kitchen fixtures or bathroom tiles.
-
Avoid using auto-focus in low contrast scenes where it might hunt for focus.
-
Manual Focus Tips:
- Utilize the focus peaking feature if your camera offers it; this highlights the in-focus areas, making manual adjustments easier.
- Practice focusing with slight adjustments to ensure every corner of the room is crisp.
Using focus stacking for depth
When photographing interiors, you may encounter scenes that require extensive depth of field. Focus stacking is an advanced technique that can help achieve this by blending multiple images taken at different focus points. This method is especially useful in rooms with intricate details, like long hallways or expansive living areas.
- Set Up Your Shot: Mount your camera on a sturdy tripod to maintain consistency across shots.
- Capture Multiple Images: Start by focusing on the closest object in the scene and gradually adjust the focus to cover the entire depth of field.
- Post-Process the Images: Use software to merge these images, ensuring that every part of the scene is in sharp focus.
Incorporating focus stacking can elevate your real estate photography, making it stand out with unparalleled clarity. For more advanced techniques, explore our Real Estate Photo Techniques.
Remember, a sturdy tripod is your best friend for maintaining stability and achieving sharp focus. Whether you're using auto-focus or manual focus, ensuring stability is key to preventing unwanted blur and capturing the property in its best light.

Enhance colors with custom white balance
Achieving the right white balance is crucial for presenting your property in its true colors. Whether you're shooting a sunlit living room or a warmly lit kitchen, nailing the white balance ensures that your images reflect the natural beauty of the space.
Understanding custom white balance
Relying on your camera's automatic white balance (AWB) might seem convenient, but it often struggles in mixed lighting situations. AWB can make a room appear cooler or warmer than it actually is, misrepresenting the space. Instead, take control by setting a custom white balance.
- Identify the lighting: Determine the predominant light source in your scene—be it natural daylight or artificial lighting.
- Use a gray card: Place a gray card in the scene to set a reference point. This helps your camera accurately interpret the color temperature.
- Adjust settings: Follow your camera's instructions to calibrate the custom white balance using the gray card as a guide.
By setting a custom white balance, you ensure that whites appear white, and colors remain true to life.
Avoiding color casts from mixed lighting
Mixed lighting—common in interiors where natural light meets artificial bulbs—can lead to unwanted color casts. Here’s how to tackle them:
- Identify the sources: Note if the room has multiple types of lighting, such as incandescent bulbs and daylight.
- Balance with gels or filters: Use gels on light sources to harmonize their color temperatures. Alternatively, apply filters to your camera lens to achieve a uniform look.
- Photograph at a consistent time: If possible, shoot at a time when one type of lighting predominates. This reduces the complexity of balancing multiple sources.
By being proactive about white balance, you can capture inviting images that resonate with potential guests. For more insights on enhancing your photos, consider exploring our Real Estate Photo Retouching guide.
Optimize composition for dynamic shots
Captivating real estate photos hinge on thoughtful composition. Properly composed images can make spaces appear larger, more inviting, and meticulously designed. Understanding and implementing key compositional techniques is crucial for any property owner looking to enhance their listings.
Rule of thirds and leading lines
Two fundamental techniques to elevate your real estate photography are the rule of thirds and leading lines. These methods guide the viewer's eye to the most important parts of the image, creating a more engaging and balanced composition.
-
Rule of thirds: Imagine a grid over your image, dividing it into nine equal parts. Position key elements like furniture, windows, or architectural features along these lines or at their intersections. For example, align the horizon with the top or bottom third to emphasize either the sky or the interior space.
-
Leading lines: Use lines naturally present in the environment, such as roads, pathways, or the edges of furniture, to direct attention toward focal points. An entryway leading to a bright living room exemplifies how leading lines can draw viewers into the space.
Framing and symmetry
Incorporating framing and symmetry can further enhance your photos. These techniques help highlight specific areas and create a sense of harmony within the image.
-
Natural frames: Use doorways, windows, or archways to frame important sections of the room. This not only draws attention to particular areas but also adds depth and context.
-
Symmetry: Balance elements evenly within the frame to produce a sense of order and calm. Symmetrical compositions often work well in spaces like bathrooms or kitchens, where fixtures and furniture can be mirrored on either side of the image.
For more tips on elevating your real estate photography, check out our Real Estate Photography Tips. By applying these compositional strategies, you can make even the simplest of spaces look dynamic and inviting, enticing potential guests to book their stay.
Avoid distortion with the right lens choice
Choosing the right lens is crucial for real estate photography, as it significantly impacts the level of distortion in your images. Wide-angle lenses are often favored for capturing expansive interiors, but they can introduce unwanted distortion if not used carefully.
Understanding focal length and distortion
Focal length plays a pivotal role in how your images appear. Lenses with a short focal length, such as 16mm or 18mm, are great for fitting entire rooms into the frame. However, they can cause straight lines to appear curved, especially at the edges of the photo. This is known as barrel distortion. On the other hand, longer focal lengths, like 35mm or 50mm, reduce this effect and maintain a more natural perspective, though they may not capture as much of the room in a single shot.
To find the best lens for your needs, consider the room size and the level of detail you wish to capture. For more insights, explore our Best Lenses Real Estate guide.
Correcting lens distortion post-shoot
Even with careful lens choice, some distortion might still occur. Fortunately, many post-processing tools can help correct this.
-
Use editing software: Programs like Lightroom and Photoshop offer lens correction features that automatically adjust for known distortions based on your lens model.
-
Manual adjustments: If automatic corrections aren't perfect, you can manually tweak the settings. Adjust the distortion slider until vertical lines appear straight.
-
Perspective correction: This tool can help fix converging lines, making walls and other structures appear upright. It's particularly useful for images taken from a low angle, where buildings might appear to lean inward.
By understanding the impact of focal length and utilizing post-processing tools, you can effectively manage distortion, ensuring your real estate photos are both appealing and accurate representations of the space.
Quick reference: camera settings guide
For real estate photography, choosing the right camera settings can make a significant difference in the quality of your images. Whether you're dealing with bright interiors or dimly lit spaces, this guide offers a quick reference to help you select the best settings for various scenarios.
| Setting Type | Recommended Value | Shooting Condition |
|---|---|---|
| Aperture | f/8 - f/11 | Well-lit rooms |
| Aperture | f/4 - f/5.6 | Dimly lit interiors |
| Shutter Speed | 1/60 - 1/125 sec | Handheld shots |
| Shutter Speed | 1/15 - 1/30 sec | Tripod, low light |
| ISO | 100 - 400 | Bright spaces |
| ISO | 800 - 1600 | Low light, reduced noise |
| White Balance | 5000K - 5500K | Daylight conditions |
| White Balance | 3000K - 4000K | Tungsten/incandescent light |
FAQs about real estate camera settings
Do I really need a wide-angle lens for this?
A wide-angle lens is highly recommended for real estate photography as it allows you to capture more of the room in a single shot, making spaces look larger and more inviting. Look for a lens with a focal length between 16mm and 24mm on a full-frame camera. This range helps minimize distortion while still showcasing the full scope of the room.
How do I avoid glare in my photos?
To minimize glare, try shooting when the sun is not directly entering the room, such as during early morning or late afternoon. You can also use a polarizing filter to reduce reflections and enhance colors. If glare persists, reposition your camera or use diffused artificial lighting to balance the exposure.
Can I use my smartphone for professional results?
Smartphones can produce impressive results, especially with newer models featuring advanced cameras. However, for the highest quality and flexibility, a DSLR or mirrorless camera with interchangeable lenses will provide superior image quality. If using a smartphone, consider using a tripod and external apps to manually adjust settings such as ISO and shutter speed.
What's the best time of day for shooting interiors?
The optimal time for shooting interiors is typically in the late morning or early afternoon when natural light is abundant yet soft. This lighting reduces harsh shadows and provides a balanced exposure. Avoid the middle of the day when direct sunlight can cause overexposure and harsh contrasts.
Mastering the right camera settings is crucial for creating compelling real estate images that draw potential guests in. Focus on achieving perfect exposure by balancing aperture, shutter speed, and ISO to suit the lighting conditions of each room. Remember, sharp focus and accurate color representation through custom white balance are essential for professional-looking photos. Embrace practice and experimentation with these techniques to refine your skills and elevate the quality of your real estate photography.
Ready to have professional photos?
Our team transforms your existing rental photos into stunning, high-converting images that bring you more bookings. No photoshoot required. 100% refund guaranteed.
Improve My Photos →