A Host's Guide To Pictures For Real Estate Marketing That Convert
Let's be real: in the world of vacation rentals, your photos are your sales pitch. Before a guest even skims your carefully written description, they've already made a snap judgment based on your images. The right pictures for real estate marketing aren't just a gallery; they're your number one tool for stopping the scroll, building trust, and ultimately, getting those bookings.
Why Your Photos Are Your Most Powerful Sales Tool
I once worked with a host—let's call her Sarah—who had a gorgeous little cabin that just wasn't getting booked. The description was great, the price was competitive, but her calendar was wide open. The culprit? Dark, slightly blurry phone pictures that made her cozy retreat look more like a cramped, forgotten shed.
We spent one afternoon reshooting everything, focusing on light and composition. The difference was immediate. Within a week, her booking notifications started popping up. Sarah's story isn't a one-off; it's a perfect example of a basic truth in this business. Your photos are your digital curb appeal, and they do all the heavy lifting before a guest even thinks about clicking "Book Now."
The Psychology of a Perfect Picture
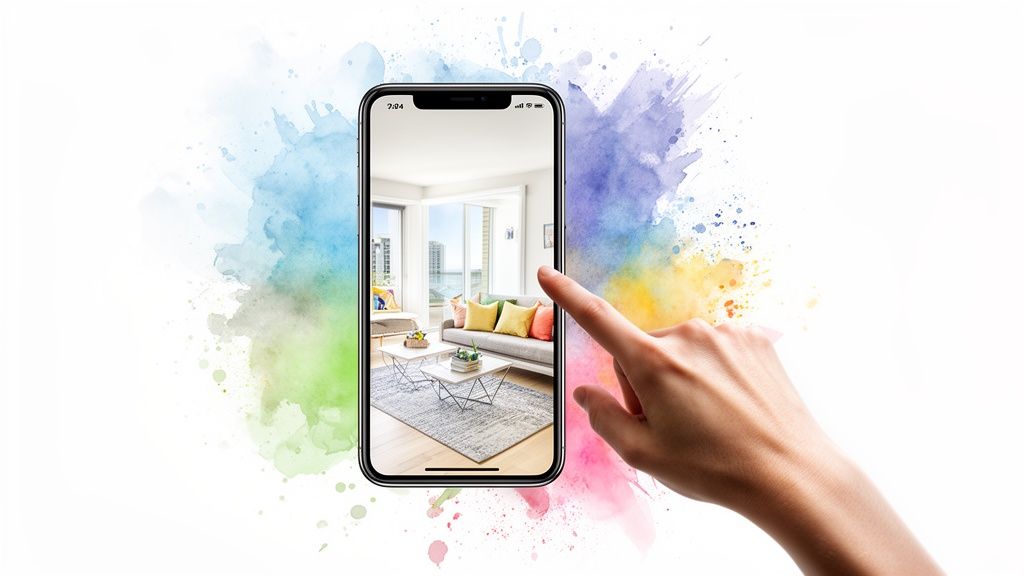
Great photos do more than just show off your property; they spark an emotional connection. When a potential guest sees a bright, clean, and beautifully staged room, they don't just see a place to sleep. They start picturing themselves there, coffee mug in hand, enjoying that view you've framed so perfectly. This is visual marketing at its core.
High-quality images also send a powerful message about you as a host. They signal professionalism and care, suggesting that if you put this much effort into your photos, you probably put the same effort into the guest experience. This perceived value helps you stand out and justify your nightly rate.
Investing in your property’s photography isn’t just another expense—it's the single most critical investment you can make in your rental's long-term success.
Backed by Data
This isn't just a gut feeling; the numbers don't lie. Viewers spend 60% of their time looking at listing photos and only 20% on the description. Listings with high-quality professional photography can get 61% more views online. That's a massive jump in visibility that leads directly to more booking opportunities. You can find more real estate photography statistics over at PhotoUp.
At the end of the day, your pictures are the silent salesperson working for you 24/7. They answer questions, set expectations, and sell the dream of a perfect getaway. They are the difference between a guest scrolling right past your listing and one who eagerly clicks to learn more. And when you combine stunning photos with other visual assets, the results get even better. We actually did a deep dive on how floor plans and photography work together to secure more bookings.
Staging Your Space to Tell a Story
Before you even touch your camera, the real work begins. Staging isn't just cleaning up; it's about crafting a scene. It’s the art of making someone look at a photo and immediately feel like they belong there.
Think about it. You're not just selling a room with a bed; you're selling a perfect night's sleep. You're not just showing a kitchen; you're offering the promise of a memorable meal with loved ones. The best pictures for real estate marketing tell a story, and that story starts the moment you start staging.
Go Beyond Decluttering to Create an Experience
Of course, the first thing to do is depersonalize and declutter. Get rid of the family photos, the fridge magnets, and all the personal odds and ends. But don't stop there. Once you have a clean slate, it's time to add back specific elements that hint at an experience.
This is where you switch from being a homeowner to being a hospitality pro. Your goal is to create little "vignettes"—small, curated scenes that a guest can instantly imagine themselves in.
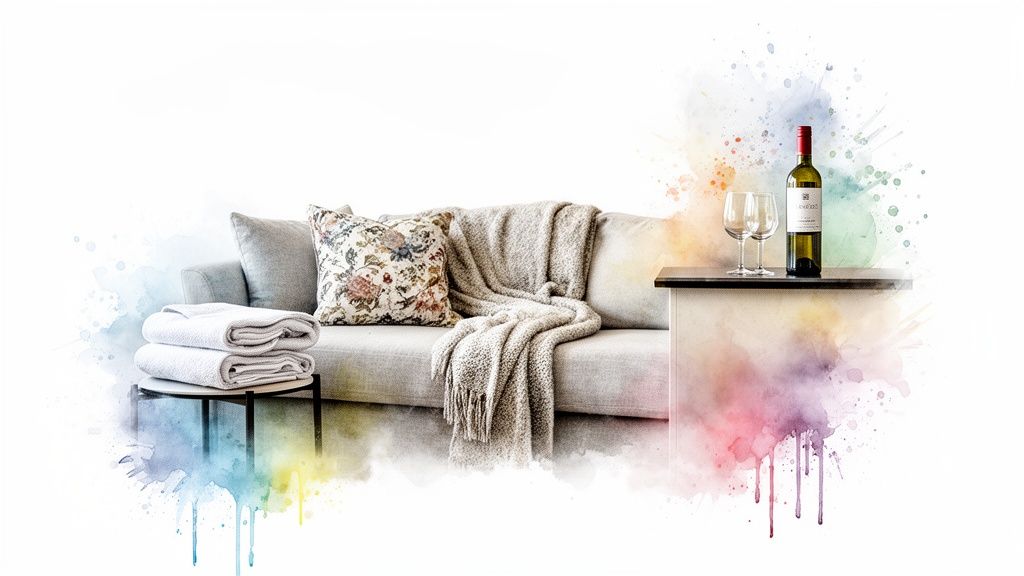
Living Room: Drape a cozy throw blanket over the arm of the sofa. Set a couple of interesting books and a coffee mug on the side table. This doesn't just show furniture; it invites a guest to picture themselves relaxing after a long day.
Kitchen: A bottle of wine and two glasses on the counter work wonders. A bowl of fresh lemons or a small potted herb adds a pop of life and color. Suddenly, it’s a welcoming space ready for entertaining.
Bedroom: Fluffy pillows are non-negotiable. Make the bed with crisp, clean linens and toss on a textured accent pillow. A neatly folded blanket at the foot of the bed adds a welcome touch of luxury.
Bathroom: This is a big one. Hide all your personal toiletries. Instead, roll up a stack of fluffy white towels, set out a new bar of soap in a nice dish, and maybe add a small vase with a single flower. It shifts the vibe from "someone's bathroom" to "spa-like retreat."
Composition: Guiding the Viewer's Eye
Once your space is perfectly staged, it's time to think about how you frame the shot. Composition is just the way you arrange everything in the photo to create a balanced, appealing image. You don’t need to be a professional photographer to get the basics right.
"A great photograph is one that fully expresses what one feels, in the deepest sense, about what is being photographed." - Ansel Adams
One of the most effective techniques is using leading lines. Look for natural lines in the room—the edge of a countertop, the pattern on a wood floor, or a doorway frame. Position your camera so these lines pull the viewer's eye into the photo, taking them on a little tour of the space.
Another great trick is the rule of thirds. Just imagine your screen has a 3x3 grid overlaid on it. Instead of sticking your main subject right in the center, try placing it along one of the lines or where the lines intersect. It instantly makes the photo feel more dynamic. Most phone cameras have a grid setting you can turn on to make this a breeze.
Common Staging and Composition Mistakes to Avoid
Knowing what not to do is half the battle. I've seen so many listings with otherwise great pictures for real estate marketing get torpedoed by a few simple, avoidable mistakes.
Awkward Angles: Don't shoot from way down low or up high. The most natural and inviting perspective is usually around chest or eye level—it shows the room how a person would actually see it.
Leaving Personal Clutter: I know we already talked about decluttering, but it’s that important. A half-used bottle of shampoo, a dish rack full of drying plates, or a messy tangle of phone chargers can kill the professional vibe in an instant.
Ignoring the Little Things: Check that all the light bulbs are working and are the same color temperature (no weird mix of yellow and blue light). Straighten the picture frames, give the pillows a good fluff, and wipe down every surface one last time before you shoot. These details really do make all the difference.
Mastering Light and Your Smartphone Camera
Let me tell you something: you do not need to spend hundreds, or even thousands, of dollars on a fancy camera to create stunning pictures for real estate marketing. The most powerful tool you need is probably already in your pocket. Your smartphone is more than capable of capturing the bright, inviting, and professional-looking images that make potential guests stop scrolling.
The secret isn’t in the gear; it's in knowing how to use it. More importantly, it’s about understanding light. I’ve seen hosts with brand-new DSLRs take dark, unappealing photos just because they didn't get the fundamentals. On the flip side, I've seen jaw-dropping listing photos taken on an iPhone by someone who simply mastered the basics.
Simple Smartphone Settings That Make a Big Difference
Before you start snapping away, let’s quickly dive into your phone’s camera settings. These small adjustments are easy, take just a few seconds to set up, and will instantly level up your composition and photo quality. Think of it as your pre-shoot checklist.
Turn On the Grid: This is a total game-changer for composition. That simple grid overlay helps you apply the "rule of thirds," making your shots feel more balanced and professional. Instead of centering everything, try placing key features—like a fireplace or a beautiful piece of art—along those grid lines.
Activate HDR Mode: HDR means High Dynamic Range. When this is on, your phone actually takes multiple pictures at different exposures and blends them into one. It's a lifesaver for real estate photos, as it helps balance the bright light pouring in from a window with the darker corners of a room. The result? No more harsh shadows or blown-out, overly bright spots.
Lock Focus and Exposure: Ever tried to frame the perfect shot, only to have your camera refocus on the wrong thing? To prevent this, just tap and hold on the screen where you want to focus. This will lock both the focus and the exposure. From there, you can usually slide your finger up or down to manually brighten or darken the image until it looks just right.
The Real Secret Weapon Is Light
You can have the best staging and the perfect camera settings, but if your lighting is bad, your photos will be too. Light is everything. And when it comes to property photography, natural light is king.
The biggest mistake I see hosts make is shooting in the middle of the day when the sun is high and harsh. This creates unflattering, stark shadows inside and out. Another common pitfall is turning on all the interior lamps. It seems like a good idea, but the warm, yellow glow of artificial bulbs clashes with the cool, blue tones of daylight. This creates weird color splotches that are a nightmare to edit out later.
What’s the golden rule? Turn off every single interior light. Open all the blinds and curtains wide. Let that beautiful, natural light pour in and do the work for you. Your photos will immediately look cleaner, brighter, and far more professional.
Finding Your Property's Golden Hour
The absolute best time to shoot is during the "golden hour"—that magical period shortly after sunrise or just before sunset. The light is soft, warm, and diffused, which makes everything look incredible. It wraps around objects beautifully, minimizes shadows, and gives your space a welcoming, cozy glow that is irresistible to potential guests.
To find your property's golden hour, just pay attention to how the light moves through your space during the day. Does the morning sun make the kitchen pop? Does the late afternoon sun make the living room feel warm and inviting? Plan your photoshoot around these moments. A little observation goes a long way. For a deeper dive, you can check out our complete guide to mastering lighting for photography.
By combining these simple phone settings with a solid understanding of natural light, you'll be blown away by the quality of the pictures for real estate marketing you can create. No expensive equipment needed—just a little patience and a keen eye for that perfect light.
Editing Photos To Make Your Listing Pop
Taking the photo is only half the battle. I remember the first time I took what I thought was a perfect picture of a living room—the light was great, the staging was on point—but when I looked at it on my computer, it just felt… flat. The real magic, the part that makes a guest stop and say "wow," often happens in the edit.
This isn't about faking it or making your space look like something it's not. It’s about bringing out the best in the photos you already have. A few simple tweaks can take an image from good to irresistible, making a room feel brighter, more spacious, and more vibrant. It's the final polish that turns your hard work into stunning pictures for real estate marketing.
The Four Basic Adjustments With the Biggest Impact
You don’t need to be a graphic designer to make meaningful changes. Most free photo apps on your phone or computer have these basic sliders. Let's break down the only four you really need to worry about.
- Brightness: This is the most obvious one. If a photo feels a little dark or gloomy, a slight nudge on the brightness slider can make it feel more open and airy. Just be careful not to overdo it and wash out the details.
- Contrast: Contrast is the difference between the darks and lights in your photo. Increasing it makes the blacks blacker and the whites whiter, giving the image more "pop" and dimension. It helps define shapes and textures.
- Saturation: This controls the intensity of the colors. A little boost in saturation can make the blues in your throw pillows richer and the green of your houseplants more lively. It adds a feeling of vibrancy.
- Sharpness: This adjustment makes the edges within your photo crisper. A slight increase can make details like wood grain or fabric weaves look more defined and high-quality.
The key to all of these is subtlety. Your goal is to create a natural, enhanced version of reality, not a hyper-edited, fake-looking image. Small adjustments go a long way.
This simple visual breaks down the core process of getting a great shot. It all starts with the right settings and light before you even click the shutter.
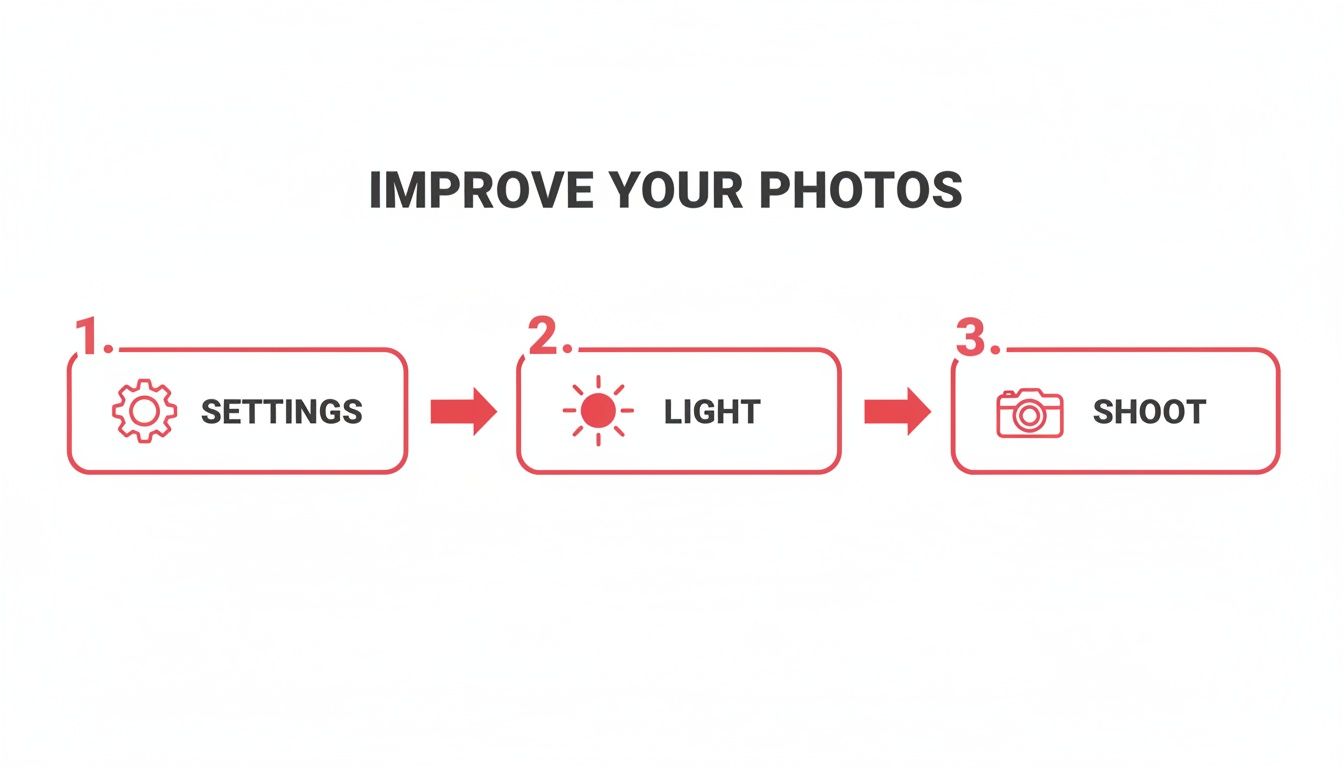
As you can see, editing is the crucial final step that builds upon a solid foundation. You can’t fix a blurry, poorly lit photo with editing alone.
A Smarter Workflow for Busy Hosts
Let's be honest, your time is your most valuable asset as a host. Learning photo editing software, even the basics, is just another task on an already endless to-do list. This is where efficiency becomes critical. You need a process that delivers professional results without eating up your entire afternoon.
This is exactly why services like rental.photos exist. We designed it for busy hosts who want stunning results without the steep learning curve. The process couldn't be simpler: you take the pictures, and we handle the rest.
You don't need to become a photo editor to have professionally edited photos. The best workflow is often the one you can delegate to experts, freeing you up to focus on what you do best: being a great host.
Instead of wrestling with sliders and software, you just upload your raw images. A combination of smart AI and a professional human editor takes over. They handle all the adjustments—brightness, color correction, consistency—to make your entire photo gallery look cohesive and polished. You can learn more about how to edit real estate photos from our experts.
The result? You get consistently beautiful, natural-looking photos that are perfectly optimized for booking platforms, all within 24 hours. It’s the perfect solution for hosts who want that "wow" factor without spending the time or money required to become a photo editing pro.
Getting Your Photos Ready for Primetime
Alright, you've done the heavy lifting. The property looks amazing, you nailed the lighting, and your photos are edited to perfection. But don't hit "upload" just yet. There’s a final, technical step that most hosts skip, and it makes all the difference.
This is the part where we make sure your beautiful pictures for real estate marketing actually get seen and convert lookers into bookers. Think of it as the backstage crew for your photos—it’s not glamorous, but without it, the show doesn’t go on. This optimization work impacts everything from how quickly your listing loads to where you rank in search results.
Don't Make Guests Wait: File Size and Page Speed
We’ve all been there: you click on a promising listing, only to sit and watch as the photos slowly load, one by one. It’s a surefire way to lose a potential guest. Giant, uncompressed image files are almost always the culprit behind a slow-loading page, and that’s a deal-breaker, especially on a phone.
The trick is to find that perfect balance between quality and file size. Your photos need to be sharp and impressive, but not so big that they slow everything down. While platforms like Airbnb will compress them for you, you'll get better results by uploading a reasonably sized file to begin with.
A great target to aim for is keeping each photo under 1MB. You can easily do this with free online tools or by using the "Export for Web" feature in your editing software. This one small tweak ensures your listing is zippy and accessible for everyone, no matter their connection speed.
Give Search Engines a Clue
When you snap a picture, your camera spits out a generic name like IMG_4812.jpg. To you, it's a photo of the living room. To a search engine, it’s meaningless. Renaming your files before you upload is one of the simplest, most powerful SEO moves you can make.
Take a few minutes to give each file a descriptive name. This simple act feeds valuable information to the search algorithms, giving your listing a quiet but effective boost.
Just look at the difference:
IMG_4812.jpgbecomescozy-living-room-with-fireplace-asheville-cabin.jpgDSC_0056.JPGbecomesmaster-bedroom-king-bed-ocean-view-balcony.jpgIMG_5033.jpgbecomesfully-equipped-kitchen-gas-stove-and-island.jpg
Now, the booking platform knows exactly what's in the picture, helping you show up for more specific guest searches.
The Art of the Photo Gallery
Don't just dump your photos into the uploader. Your gallery should be a story, guiding a guest on a virtual walkthrough of your space. The order matters—a lot.
The first five to seven photos are your hook. They're what guests see in the search results, so they have to be compelling. Lead with your absolute best "hero image"—a jaw-dropping wide shot of the main living area, a stunning exterior, or that one unique feature that makes your place special.
From there, walk them through the property as if they were there in person: living room, kitchen, master bedroom, other bedrooms, bathrooms, and finally, the outdoor spaces and amenities.
A well-ordered photo gallery doesn't just show a property; it builds excitement and helps a guest mentally move in before they've even booked.
This is more important than ever. With 69% of home buyers using mobile devices for their search, your images need to tell a story fast on a small screen. You can find more insightful real estate marketing statistics over at CallRail.
Let the Data Decide: Test Your Hero Image
What if you have two killer photos and can't decide which one should be your main image? Don't guess. Test it. This is what marketers call A/B testing, and it's surprisingly easy to do.
Choose one photo to be your primary "hero" image. Let it run for a week or two and keep an eye on your views and click-through rate. Then, swap it out for the other contender and run it for the same amount of time.
Compare the numbers. You might be shocked to learn that the close-up of the cozy fireplace gets more clicks than the wide-angle exterior shot you were so proud of. This data-driven approach removes the guesswork from selecting the best pictures for real estate marketing, ensuring you’re always leading with your most effective shot.
Your Top Photo Questions, Answered
Alright, even after walking through all the steps from staging to editing, you probably still have a few questions bouncing around in your head. That’s totally normal. Getting the photos just right for your listing is a huge deal, and every host runs into the same practical questions.
Let’s tackle some of the most common ones I hear. My goal here is to give you clear, no-nonsense answers so you can move forward and get those photos done with confidence.
How Many Pictures Should I Post for My Listing?
While every platform is a bit different, the magic number usually falls between 20 and 30 high-quality photos. This range gives you enough room to show off every space, highlight standout amenities like a hot tub or a dedicated workspace, and capture the exterior, all without overwhelming your potential guests.
But remember, the first five to seven photos are everything. They’re what people see in the search results, and they're your one chance to make someone stop scrolling. Make sure these are your absolute showstoppers, starting with a killer "hero shot"—maybe of the cozy living room, the master bedroom, or a stunning view from the deck.
Think of it as creating a virtual walkthrough. You want guests to feel like they’ve already stepped inside and can picture themselves there, leaving no unanswered questions about what your property offers.
Should I Hire a Pro or Just Do It Myself?
This is the classic dilemma, isn't it? The best answer really comes down to your budget, your skills, and how much time you have on your hands.
Hiring a professional real estate photographer is an incredible investment if you can swing it. You're pretty much guaranteed to get technically perfect, gorgeous images that often pay for themselves in just a few extra bookings. The national average for a standard shoot is around $230, but that can change a lot depending on where you are and what you need.
But let's be real—hiring a pro isn't always in the cards, especially when you're just starting out. If you've got a decent eye for detail and a modern smartphone, you can absolutely get stunning DIY photos by following the advice we've already covered on lighting and composition.
A hybrid approach is often the smartest move. Take the photos yourself when the light is just right, then send them to an affordable enhancement service. You get the control and cost savings of DIY, but with a final result that looks like a pro shot it.
This way, your images come back bright, crisp, and consistent—ready to wow guests without that big upfront cost. It’s truly the best of both worlds.
What Are the Biggest Photo Mistakes I Should Avoid?
I’ve looked at thousands of listings over the years, and I see the same handful of mistakes over and over again. If you can just sidestep these common traps, your listing will immediately stand out from the crowd.
Here are the biggest culprits:
- Bad Lighting: Dark, yellow, or super shadowy pictures are an instant turn-off.
- Shooting Vertically: Almost every listing platform is designed for horizontal (landscape) photos. They fill the screen better and capture more of the room.
- Clutter: Nothing ruins the dream of a relaxing getaway faster than seeing a stranger's toothbrush or a pile of mail.
- Inconsistency: A photo gallery that jumps between dark and bright shots or uses different editing styles just looks sloppy and unprofessional.
Another huge mistake is just documenting the space instead of selling the experience. Your photos need to capture the vibe of staying at your place. And a final one: forgetting to update your pictures after you've made improvements or as the seasons change. Your gallery has to be an honest, enticing preview of what a guest will experience today.
How Often Do I Really Need to Update My Photos?
Think of your photo gallery as a living part of your listing, not a "set it and forget it" task. You absolutely need to update your photos any time you make a noticeable change—new furniture, a fresh coat of paint, a bathroom remodel, you name it. An out-of-date gallery is the fastest way to create disappointed guests and earn a bad review.
It's also a great idea to give your photos a seasonal refresh. If you have a cozy fireplace, make that your hero image in the fall and winter. When summer rolls around, lead with shots of your beautiful pool or blooming garden.
At the very least, plan to review and refresh your entire photo gallery once a year. It keeps your listing looking current and shows potential guests that you're an engaged host who cares about providing a great experience.
Feeling ready to get photos that stop the scroll and drive more bookings? rental.photos was designed for busy hosts like you. Simply upload your pictures, and our blend of smart AI and professional human editors will deliver consistently stunning, bookable photos in under 24 hours. Start your first listing today at rental.photos.
Ready to have professional photos?
Our team transforms your existing rental photos into stunning, high-converting images that bring you more bookings. No photoshoot required. 100% refund guaranteed.
Improve My Photos →