The Best Lighting Equipment for Photography Your Rental Needs
When it comes to the best lighting equipment for photography, what you're trying to accomplish is everything. But for creating those bright, inviting photos for a rental listing? You'll be hard-pressed to beat the combination of a strobe light and a large softbox or umbrella. I've found this setup is the go-to for a reason: it pumps out powerful, soft light that makes any room look professionally shot and incredibly appealing to guests.
Why Good Lighting Is Your Secret Weapon
Have you ever taken a photo of your beautiful rental, only to have it look dim and a little sad? You’re not alone. I've been there. A camera's lens just doesn't see the world the way our eyes do. It needs a ton of light to really capture a space's true charm and warmth, and that’s where the right gear completely changes the game.
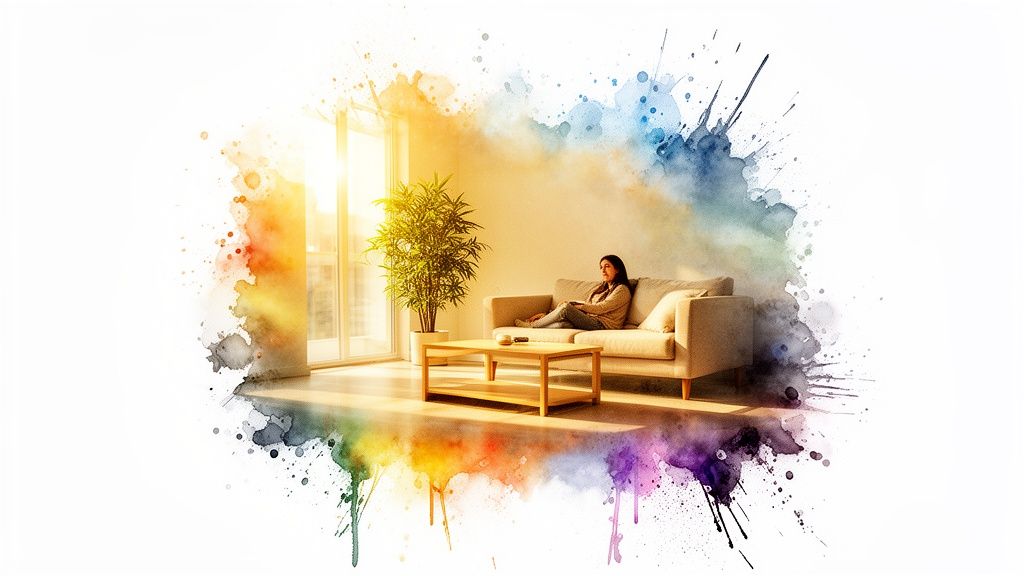
Good lighting does so much more than just brighten a room—it tells a story. It can create an inviting atmosphere, make small spaces feel larger and more open, and help potential guests truly picture themselves relaxing in your property. You don't have to become a pro photographer overnight to see a massive difference. You just need to understand one simple secret.
Great lighting is the most powerful tool you have to turn online browsers into booked guests. It's not about trickery; it's about showing your property in its best, most honest light.
Turning Browsers into Bookers
People expect high-quality images everywhere now, and the rental market is no exception. This trend is a big reason why the global Photography Lighting Equipment market is projected to hit $480 million by 2025. That surge isn't just from pros; it's also from savvy property owners and creators like us who know that top-tier gear delivers flawless results that stop people in their tracks.
This guide is here to demystify the equipment and show you exactly how to capture the true feeling of your space. We'll walk through the best lighting equipment for photography, breaking down complicated concepts into simple, practical advice. My goal is to help you create stunning photos that stop the scroll and fill your booking calendar. For a deeper dive into the basics, check out our lighting for photography guide.
Making Sense of Lighting Jargon
Stepping into the world of photo lighting can feel a bit like trying to read a technical manual. You’ll see terms like CRI, Kelvin, and lumens thrown around, but what do they actually mean when it comes to getting incredible shots of your rental?
Let's cut through the noise and focus on what really matters.
Color Temperature: Setting the Mood
Think of Color Temperature as the mood or personality of the light. It's measured in Kelvin (K), but it's easier to think of it on a spectrum from warm to cool.
A lower number, like 3200K, gives off a warm, cozy glow, almost like a sunset. On the other hand, a higher number like 5600K produces a crisp, neutral light that feels like bright, clean daylight. Neither is "better"—it's all about matching the feeling you want to create for a particular room.
This ties directly into your camera's settings, which you can learn more about in our simple guide on what is white balance in photography.
Color Accuracy: Keeping It Real
Now for the Color Rendering Index (CRI). This might be the single most important detail when choosing a light source because it dictates how true-to-life your colors will look.
Imagine you carefully selected a stylish, deep blue sofa for your living room. A light with a poor CRI could make that beautiful sofa look dull, gray, or even a bit purplish in your photos. That’s not what I want for you.
A high CRI, which is 95 or above, is the gold standard for accurate colors. It guarantees that the vibrant reds, deep blues, and rich greens of your decor look just as stunning in the pictures as they do in person, which helps build trust with potential guests before they even book.
Power and Portability: Getting the Right Amount of Light
Finally, let's talk about power. You'll see it measured in watts or watt-seconds, but don't get bogged down in the technical details. The real question is simple: are you lighting a small bedroom or a huge, open-concept living area?
Here's a straightforward way to think about it:
- Lower Power (like Speedlites): These are fantastic for adding a little pop of light, filling in shadows near a window, or brightening up a small nook. They’re lightweight and super portable.
- Higher Power (like Strobes): These are the heavy lifters. They have enough juice to fill a large room with bright, clean light, easily overpowering any weird ambient light and making the whole space feel airy and professional, even on a cloudy day.
To make these concepts even clearer, here’s a quick-reference table.
Key Lighting Terms and What They Mean for Your Photos
| Feature | What It Is | Why It's Important for Your Photos |
|---|---|---|
| Color Temperature (Kelvin) | The "warmth" or "coolness" of a light source. | It sets the mood—warm light feels cozy, while cool light feels modern and clean. |
| Color Rendering Index (CRI) | A score from 0-100 measuring how accurately a light shows colors. | A high CRI (95+) ensures your decor looks true-to-life and vibrant, not dull or discolored. |
| Power (Watts/Watt-Seconds) | The maximum brightness or output of the light. | More power is needed to light larger rooms and create a consistently bright, professional look. |
| Portability | The size, weight, and power source (battery vs. plug-in) of the light. | Determines how easily you can move your setup around the property to get the perfect shot in every room. |
Picking the right power level means you’ll always have enough light to work with. It gives you the freedom to create the bright, welcoming images that make people stop scrolling and start booking. When you understand these core ideas, you can confidently choose gear that will actually get the job done right.
Choosing Your Main Light Source
Think of your main light source as the star player on your team. Just like I wouldn't use a screwdriver for a nail, picking the right light depends entirely on what you're trying to accomplish with your photos. Let's walk through the three main options so you can find the perfect tool for your rental listing.

This isn't just a technical choice; it's a core business decision. Amazing lighting is the secret ingredient that makes a vacation rental pop online. The Photography Lighting Equipment Market hit a value of $49.82 billion in 2023 and is expected to climb to $65.32 billion by 2031, all because people demand better-looking images. It's clear proof that investing in good light is essential to stand out. If you're curious about the numbers, you can find more details in this photography equipment market research.
Continuous LED Panels: The WYSIWYG Solution
If you’re just starting out, continuous LED panels are your best friend. The name gives it away: the light stays on constantly. This means what you see is what you get (WYSIWYG), taking all the guesswork out of the process.
You can physically move the light around the room, watch how the shadows shift in real-time, and dial in the brightness until everything looks just right—all before you ever click the shutter.
- Pros: Super easy to use, great for shooting video, and perfect for seeing your final shot come to life.
- Cons: They often lack the raw power of strobes, so they can have a tough time overpowering a bright, sunny window or lighting up a large, open-concept space.
Strobes: The Professional Powerhouse
Strobes, often called monolights, are the heavy hitters. They unleash a massive, split-second burst of clean, powerful light that can make any room look like it was professionally shot for a magazine, even on the dreariest of days.
A single strobe has more than enough punch to overwhelm the existing light in a room. This gives you complete creative control, allowing you to build a bright and airy look from scratch.
A strobe doesn't just add light; it replaces it. This is how you create that flawless, consistent look from room to room, no matter the weather or time of day.
- Pros: Incredibly powerful, delivers crisp and consistent light, and is the gold standard for professional real estate and architectural photography.
- Cons: They come with a bit of a learning curve since you can't see the light until you take the picture. They're also bulkier and less portable.
Speedlites: The Versatile Multi-Tool
Speedlites (also spelled speedlights) are those small, portable flashes that you can mount on your camera or place anywhere in a room. Think of them as the Swiss Army knife in your camera bag: compact, adaptable, and surprisingly useful for all sorts of jobs.
While a single speedlite won't illuminate a cavernous living room by itself, it’s perfect for adding a little kiss of light exactly where you need it. Use one to brighten up a dark corner, add a little sparkle to a piece of furniture, or bounce its light off a ceiling for a soft, flattering effect.
- Pros: Extremely portable, incredibly versatile, and generally more affordable.
- Cons: They’re the least powerful of the three, making it a challenge to use them as your main light source in bigger rooms without getting into more advanced setups.
How to Shape and Soften Your Light
Just having a powerful light source isn't the whole story. Raw, direct light from a strobe or even an LED panel can be harsh. It creates deep, unflattering shadows that can make a beautiful room feel stark and clinical instead of warm and welcoming. The real magic happens when you learn to shape that light.
Think of it like this: a bare lightbulb in a socket is functional, but a stylish lampshade transforms it into inviting ambiance. That’s exactly what a light modifier does for your photography. It's the key to turning harsh glare into soft, beautiful illumination.
From Harsh to Gentle: The Power of Diffusion
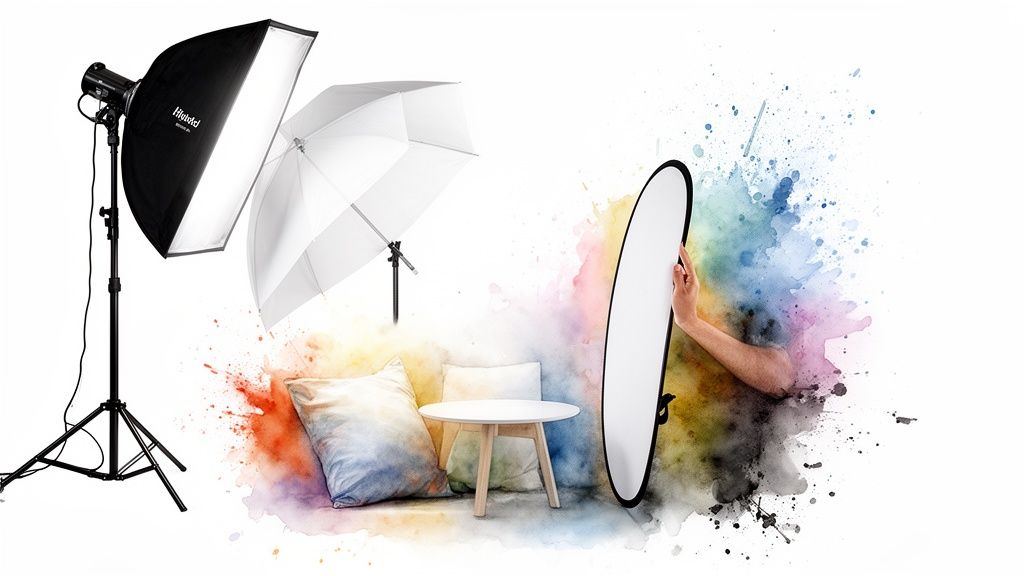
The two most common tools for this job are softboxes and umbrellas. Though they look quite different, they both work toward the same goal: they diffuse the light. They catch the intense, concentrated beam from your flash and spread it out evenly over a much larger surface.
- Softboxes: Imagine these as fabric boxes that fit right onto your light. They give you a very controlled, directional light, which is fantastic for minimizing reflections on shiny surfaces and precisely lighting specific areas of a room.
- Umbrellas: These are the speed demons of the modifier world—super quick and easy to set up. A "shoot-through" umbrella, in particular, throws a wide, soft spray of light that can brighten an entire room with gentle, flattering shadows.
Simply adding one of these to your setup will immediately elevate your photos, making spaces feel more serene and spacious.
The Unsung Hero: A Simple Reflector
You don't always need another expensive light to fix a shadow problem. Sometimes, all you need is a way to bounce the light you already have. This is where the humble reflector comes in—it’s easily the most budget-friendly and surprisingly effective tool you can own.
A reflector is basically a portable wall you can use to redirect light into dark corners. It fills in shadows, adds a pop of brightness, and makes your space feel more open and balanced, all without any extra power cords or batteries.
Even a simple white foam board from an art supply store can work wonders. If you want to dive deeper into this simple but powerful technique, check out our guide on using a lighting bounce board. By placing a reflector opposite your main light, you can catch and bounce that light right back into the scene, brightening up dark corners and giving your photos a polished, high-end look on a shoestring budget.
Simple Lighting Setups for Great Rental Photos
Alright, you've met the players—the strobes, speedlites, and modifiers. Now it's time to get them in the game. Knowing what the tools are is one thing, but knowing how to use them is where the magic happens and your rental photos completely transform.
Think of these as your go-to lighting recipes. They’re simple, repeatable, and designed for the exact situations you’ll run into when shooting a property. Get these down, and you’ll be able to create professional-looking photos every single time, capturing the true feel of your space and making it stand out.
And in today’s market, standing out is everything. The photography equipment world is huge—worth over $103.566 billion in 2024—and lighting gear is seeing massive growth of more than 18%. While flashy new cameras get all the hype, it’s the lighting that really lets you create those warm, inviting images that get people to book. You can dive deeper into these photography market trends here.
The Bright and Airy Setup
This is that classic, magazine-style look that makes potential guests stop scrolling. It makes any room feel bigger, cleaner, and full of great energy. The whole idea is to bathe the room in soft, even light, erasing harsh shadows and making the space feel incredibly welcoming.
Your Recipe:
- Pop a single strobe on a light stand and tuck it into a corner. I like to aim it across the room toward the opposite corner ceiling.
- Clip a large shoot-through umbrella onto the strobe. This is the secret sauce—it takes that powerful burst of light and turns it into a giant, soft light source that wraps around everything.
- Set up your camera in the doorway or the corner opposite the strobe to get the widest possible shot.
- Snap a test shot. Too bright? Dial the strobe power down. Too dark? Nudge it up. Keep tweaking until the room looks perfectly and evenly lit.
Honestly, this one-light setup is a workhorse. It delivers that polished, high-end look with surprisingly little effort.
The Natural Light Booster
We’ve all been there. You have gorgeous light streaming in through a window, but the other side of the room is lost in a deep, dark shadow. This setup isn’t about fighting that beautiful sunlight—it’s about working with it to create a perfectly balanced photo.
The trick is to just fill in the shadows, not overpower the sun. You want the final image to look like the sunlight itself is just naturally filling every nook and cranny.
You’ve got two easy ways to do this:
- With a Reflector: Grab a large white reflector (a big piece of foam board from a craft store works great in a pinch!) and place it just out of frame. Angle it so it catches the light from the window and bounces it right back into the dark spots. It’s a beautifully simple fix that requires no power at all.
- With a Speedlite: Put a speedlite on a stand in the shadowy part of the room and set it to a very low power. Point it at the ceiling or a light-colored wall. This will bounce a soft little puff of light into the shadows, blending in perfectly with the existing window light.
The Cozy Evening Ambiance
Shooting a room at dusk with the lamps on can create such a cozy, inviting mood. The problem is, cameras often butcher this vibe, making the photo look too dark or giving it a weird, sickly orange glow. This setup helps you capture that warm ambiance just as your eyes see it.
The key is to make your flash match the color of the lamps in the room. To do this, simply slide a CTO (Color Temperature Orange) gel over your speedlite. It’s just a small piece of orange plastic that warms up the cool, white light of the flash.
With the gel on, turn the speedlite to a low power and bounce it off the ceiling. This will gently lift the shadows without killing that cozy, warm feeling you’re trying to capture.
When Buying Your Own Gear Is Overkill
Let's be realistic for a moment. Buying and actually mastering professional lighting gear is a huge commitment. If you're a busy host juggling bookings, coordinating cleanings, and answering guest messages, becoming a part-time photographer probably isn't the best use of your time. I get it.
The upfront cost for a decent setup—strobes, stands, modifiers—can quickly run into hundreds, if not thousands, of dollars. But the money is only part of the story. There's a steep learning curve involved. Every hour you spend watching tutorials and experimenting with different lighting setups is an hour you're not spending on growing your rental business.
A Simpler, More Direct Path
What if you could get professional-looking photos without ever touching a piece of lighting equipment? Instead of wrestling with gear you don't understand, you could simply use the photos you already have—even just the ones on your phone—and let a specialized service perfect them for you.
This connects your real problem (photos with bad lighting) to the most straightforward solution. You get to skip the expense, the learning curve, and the stress of a DIY photoshoot and jump straight to what you actually need: bright, welcoming photos that make people want to book.
The goal isn't to become a professional photographer; it's to have professional-quality photos that get you more bookings. Sometimes, the smartest move is to let an expert handle it.
Services like rental.photos are built for this exact scenario. They use a mix of smart technology and real human expertise to give your existing photos a pro-level lighting treatment.
This diagram shows how a service can adjust the lighting to create a specific vibe for your listing, whether you want it to feel airy, natural, or cozy.
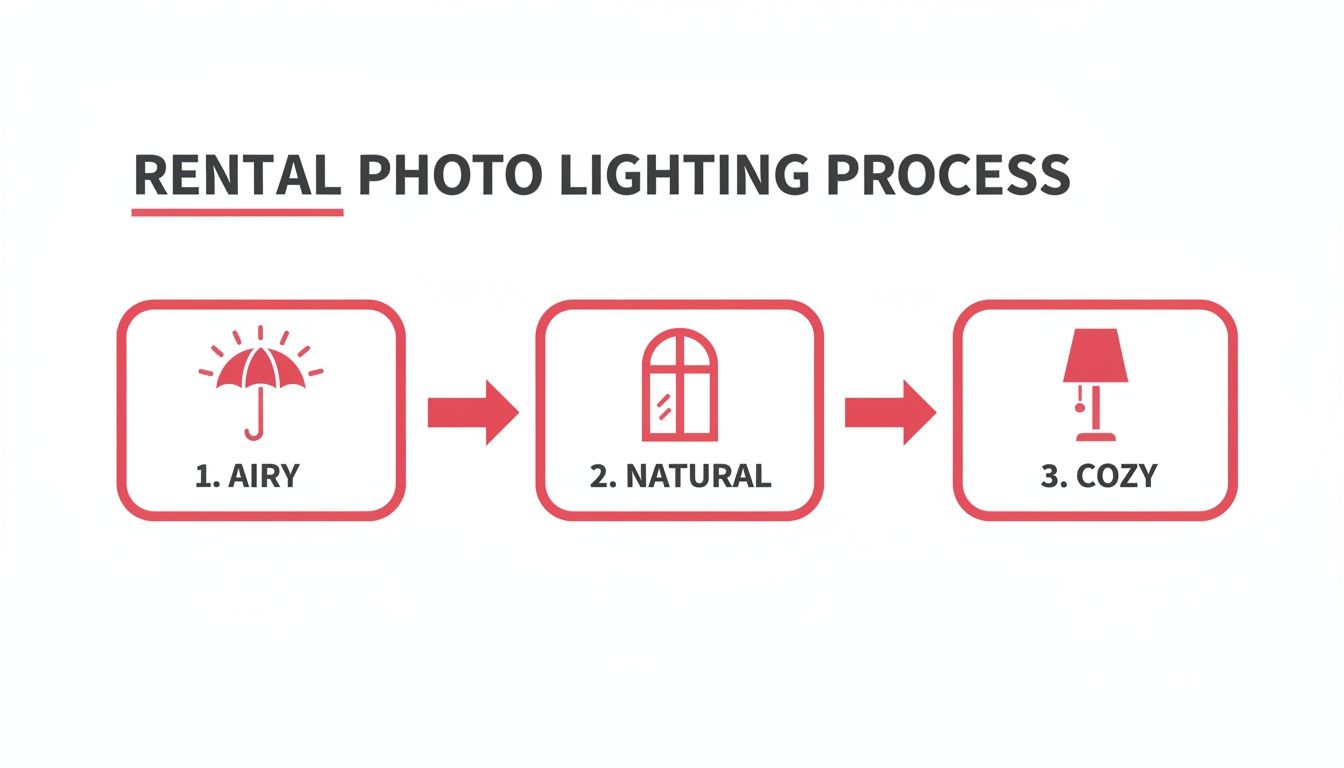
This kind of process means your photos can be transformed to match the unique character of your space, helping you attract the exact type of guests you're looking for.
Got Questions About Lighting? We've Got Answers.
We talk to busy hosts like you all the time, and a few key questions about lighting always pop up. To cut through the confusion, I've put together some simple, no-nonsense answers to help you get amazing photos for your property and start landing more bookings.
Can I Just Use My Phone Instead of Buying Lights?
Modern smartphones pack some seriously impressive camera tech, but they still can't defy the laws of physics. When you're dealing with a dimly lit room or trying to balance a dark interior with bright, sunny windows, a phone’s small sensor will almost always struggle. You'll often end up with grainy, splotchy, or weirdly colored photos.
This is where dedicated lighting equipment gives you back control. That said, if your phone is your starting point, a great, budget-friendly move is to have your photos professionally edited. A good editor can often correct the lighting issues, giving you a pro look without buying any gear.
What’s the Best Single Piece of Lighting Gear to Start With?
If you're going to buy just one thing, make it a speedlite. These are the portable, on-camera style flashes. Grab one along with a wireless trigger and a simple shoot-through umbrella, and you'll have an incredibly versatile kit that opens up a world of possibilities.
A speedlite lets you bounce soft, natural-looking light off a ceiling, or you can fire it through an umbrella to create beautiful, flattering light that fills a room. It’s a portable, relatively affordable setup that makes an enormous difference.
How Do I Stop Getting That Annoying Glare in Windows and Mirrors?
Ah, the classic problem that can ruin an otherwise perfect shot! It's all about angles. My golden rule is to never aim your light source—or your camera—straight at a reflective surface. That means windows, mirrors, TV screens, and even glossy artwork.
Instead, change your position. Stand at an angle to the reflective surface, somewhere around 45 degrees is usually the sweet spot. By doing this, the reflection of your flash will bounce away from your camera lens instead of directly into it. It’s a simple shift that completely eliminates that distracting glare.
Tired of wrestling with tricky lighting and just want photos that stop the scroll? Let rental.photos take care of it for you. We transform your existing images, making them look bright, inviting, and ready to book in under 24 hours. Learn more and see the difference at https://rental.photos.
Ready to have professional photos?
Our team transforms your existing rental photos into stunning, high-converting images that bring you more bookings. No photoshoot required. 100% refund guaranteed.
Improve My Photos →