My Secret Weapon for Bright Rental Photos? A $20 Lighting Bounce Board
Ever take a photo of your rental and just feel… disappointed? You’ve got the lights on, the sun is streaming in, but the pictures still look a bit dark, a bit flat. It’s a frustration I know all too well. You have this beautiful, welcoming space, but the photos just don't do it justice.
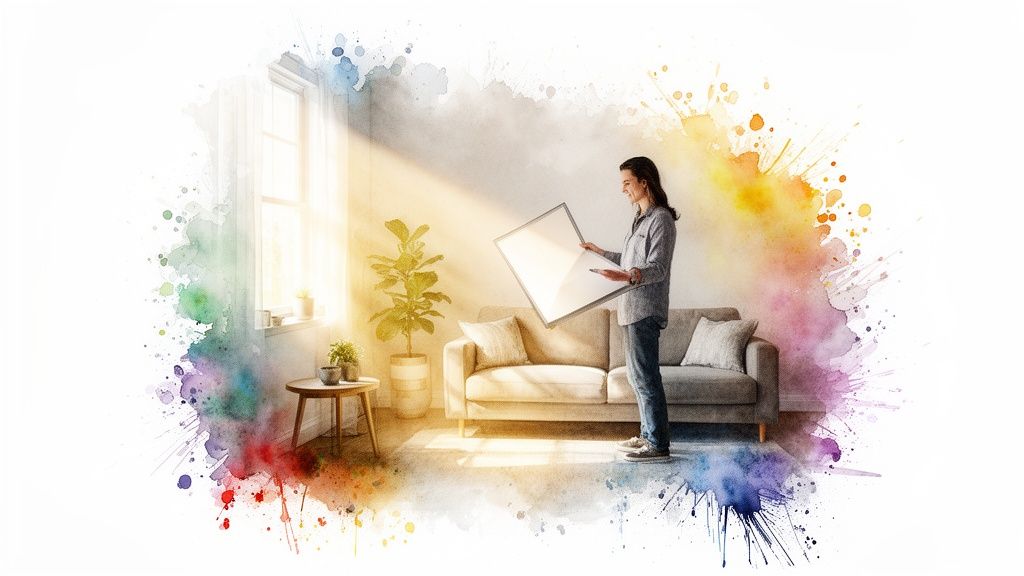
That’s where a little something I like to call my secret weapon comes in: the lighting bounce board. It’s not some expensive, complicated piece of gear. It’s just a simple, reflective surface that helps you grab the natural light you already have and redirect it to fill in shadows. It’s the trick to creating that soft, bright, inviting vibe that makes a guest stop scrolling and start booking.
Your Secret Weapon for Bright and Inviting Photos
Before I really got a handle on lighting, my photos were a constant source of frustration. They always felt a little dim and uninspired, no matter how much I fiddled with the settings or waited for the "perfect" time of day.
Then I stumbled upon the bounce board, and honestly, it was a total game-changer for me. It’s a shockingly simple tool that lets you take the beautiful light you already have coming through your windows and shape it into something truly special.
Why a Bounce Board Works Wonders
At its core, a bounce board is a photographer's best friend for interior shots. I think of it like a mirror for soft light. It grabs that natural light and literally "bounces" it back into the darker corners of a room. This simple action does wonders—it softens harsh shadows, brightens up the space, and makes everything feel more open and appealing.
This technique has been around for ages. It actually dates back to film sets in the 1970s, where crews used basic beadboards to fill in shadows on a budget. Today, you can make a powerful 42x42-inch board from a piece of foam core for less than $20. It’s incredible how something so simple can reflect 80-90% of the available light to create those scroll-stopping images.
Key Takeaway: A bounce board is the secret behind that professional, airy look that makes guests stop scrolling and click "Book Now." It might be the single most impactful tool for turning your photos into powerful marketing assets.
The goal here is to move past basic snapshots and start creating images that tell a story of comfort, quality, and care. Getting a handle on bounce lighting is a huge step in that direction. It gives you incredible control over your final shots, a crucial skill we dive deeper into in our comprehensive guide on lighting for photography.
Bounce Board Essentials At a Glance
Here's a quick look at common lighting issues in rental photos and how a bounce board provides the perfect solution.
| Common Lighting Problem | How a Bounce Board Solves It | The Impact on Your Listing |
|---|---|---|
| Harsh, dark shadows in corners or behind furniture. | It reflects soft, diffused light back into those shadowy areas, lifting them gently. | The room appears larger, cleaner, and more spacious. |
| One side of the room is bright, the other is dark. | It balances the light by filling the darker side with reflected light from the window. | Photos look more balanced, professional, and pleasing to the eye. |
| Flat, uninviting images that lack depth. | It adds soft highlights and dimension, making textures and details pop. | Your space looks more high-end and appealing, justifying your nightly rate. |
Mastering this one simple tool can dramatically elevate the quality of your listing photos and, ultimately, your booking numbers.
Building Your DIY Bounce Board for Under $20
You can forget about dropping a ton of cash on a complicated photography kit. Seriously. I built the single most effective bounce board I've ever used with one trip to the local craft store, and you can do the exact same thing. We're just making a simple tool that delivers professional results without the hefty price tag.
The whole process is way easier than you might think. You don't need to be a DIY expert—just grab a few basic materials and set aside about fifteen minutes. This tiny bit of effort will pay you back tenfold when you see how much better your listing photos look.
What You'll Need
First things first, you need the right surface. The star of the show is a big piece of white foam core board. For me, this is non-negotiable. I've seen some guides recommend shiny silver or gold surfaces, but those are a recipe for harsh reflections and weird color casts on your walls.
To get that cozy, bright, and inviting feel you want in a rental, a pure matte white surface is your best friend. It bounces light around softly and cleanly, which keeps your whites looking genuinely white and your colors true to life.
Here's your entire shopping list:
- One large sheet of white foam core board. I usually go for a 30x40 inch sheet; it’s a great, versatile size to start with.
- A roll of strong tape. Gaffers tape is my go-to because it’s tough and won't leave a sticky mess, but good old duct tape works just fine.
- A utility knife or box cutter. Just make sure it has a sharp blade for clean cuts.
That’s it. You can find all of this for under $20. It’s a tiny investment for a tool that will completely change how you photograph your property.
Putting It All Together
Once you've got your supplies, putting the board together is a breeze. I've refined this method over years of shooting all kinds of properties, and this is the most durable and easy-to-handle setup I've found.
Start by thinking about size. A huge board is great for big living rooms, but it's a nightmare in a small bathroom. My standard move is to cut the 30x40 inch board right in half, giving me two easy-to-handle 30x20 inch boards. This gives me a smaller, more nimble option for tight shots and lets me tape them back together when I need a bigger surface.
My Pro Tip: A handle makes a world of difference. Before taping the two halves together, I make a simple loop with a 12-inch strip of gaffer's tape and stick it to the back of one board. It lets you hold and angle the bounce board with one hand while you shoot with the other—a total game-changer.
To build your full-size board, just lay your two 30x20 inch pieces side-by-side on the floor. Run a strip of tape down the seam to create a flexible hinge. This not only joins them but lets the board fold up for storage. It can even stand on its own in a V-shape, which is incredibly useful.
Finally, I always run tape along all the outer edges to protect them from dents and dings on a shoot. And just like that, you have a versatile, tough, and incredibly effective tool ready to go.
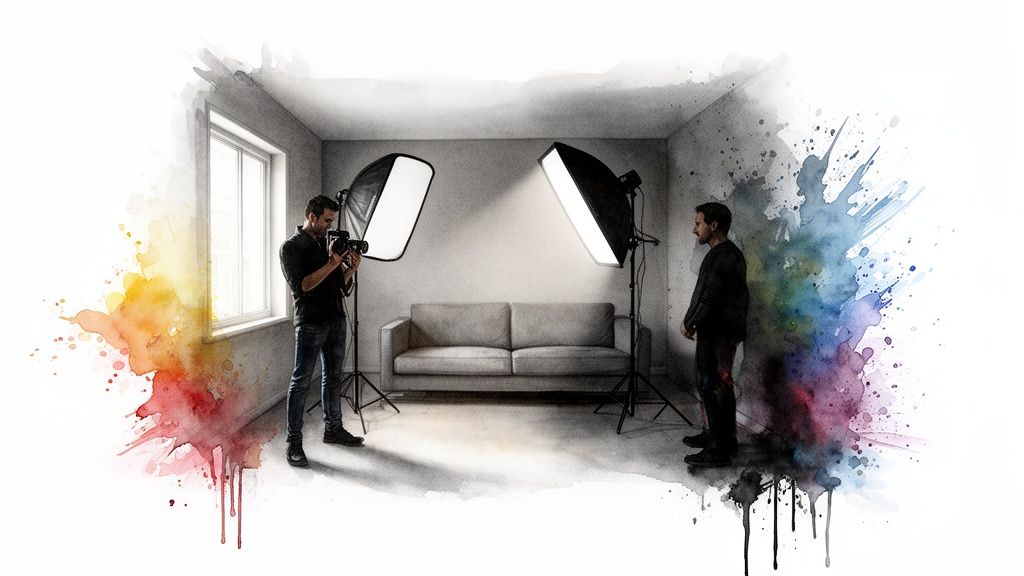
Mastering Placement for Every Room in Your Rental
Owning a bounce board is one thing, but knowing exactly where to put it is where the real magic happens. This is my practical, room-by-room playbook, built from years of walking into new spaces and figuring out how to make them shine. It’s all about learning to see the light and then bending it to your will.
Think of your main light source, usually a window, as a giant flashlight. Your goal is to catch that beam with your bounce board and aim it right into the deepest shadows. A simple rule I always follow is to place the board directly opposite the window, angled toward the main subject of the photo—like the sofa or the bed.
Lighting the Living Room
The living room is often the hero shot of a rental listing. It's where guests picture themselves relaxing, so it needs to feel warm and inviting. The classic problem here is a brightly blown-out window area next to a dark, shadowy sofa just a few feet away.
To solve this, I position the bounce board just out of the camera's frame, directly across from the window. I then angle it to catch that incoming light and throw it softly onto the front of the sofa. This one move instantly lifts the shadows, brings out the texture of the fabric, and makes the entire space feel balanced.
From my experience, the ideal angle is usually around 45 degrees relative to both the window and your subject. It’s the sweet spot that fills shadows without creating a new, obvious light source. It’s a subtle art, but once you see it work, you'll never shoot a living room the same way again.
Making Kitchens Sparkle
Kitchens can be tricky. You’ve got bright windows but also deep, dark shadows under cabinets and in corners that can make the space feel dated or dim. My primary goal here is to make those countertops look clean, bright, and spacious.
I’ll often place a smaller lighting bounce board right on the countertop, leaning it against the backsplash. This catches the light from a nearby window or doorway and bounces it directly up and under the cabinets. The difference is immediate—gloomy prep areas suddenly look bright and functional. It’s a tiny adjustment that makes a kitchen feel 100% more appealing in photos.
Creating a Serene Bedroom Glow
In the bedroom, the vibe should be soft, serene, and peaceful. Harsh shadows are the enemy of tranquility. The bed is almost always the focal point, but it's often sitting in a darker part of the room, away from the window.
Here’s my go-to setup:
- Identify the Main Light: First, find the largest window in the room.
- Position Your Board: Place your bounce board on the side of the bed that’s opposite that window.
- Angle for Softness: Tilt the board to gently reflect light onto the duvet and pillows. This softens any shadows cast by the window frame and makes the bedding look crisp, clean, and incredibly inviting.
This process is straightforward, whether you're using a professional reflector or a board you made yourself. This infographic breaks down just how simple it is to create your own DIY lighting bounce board.
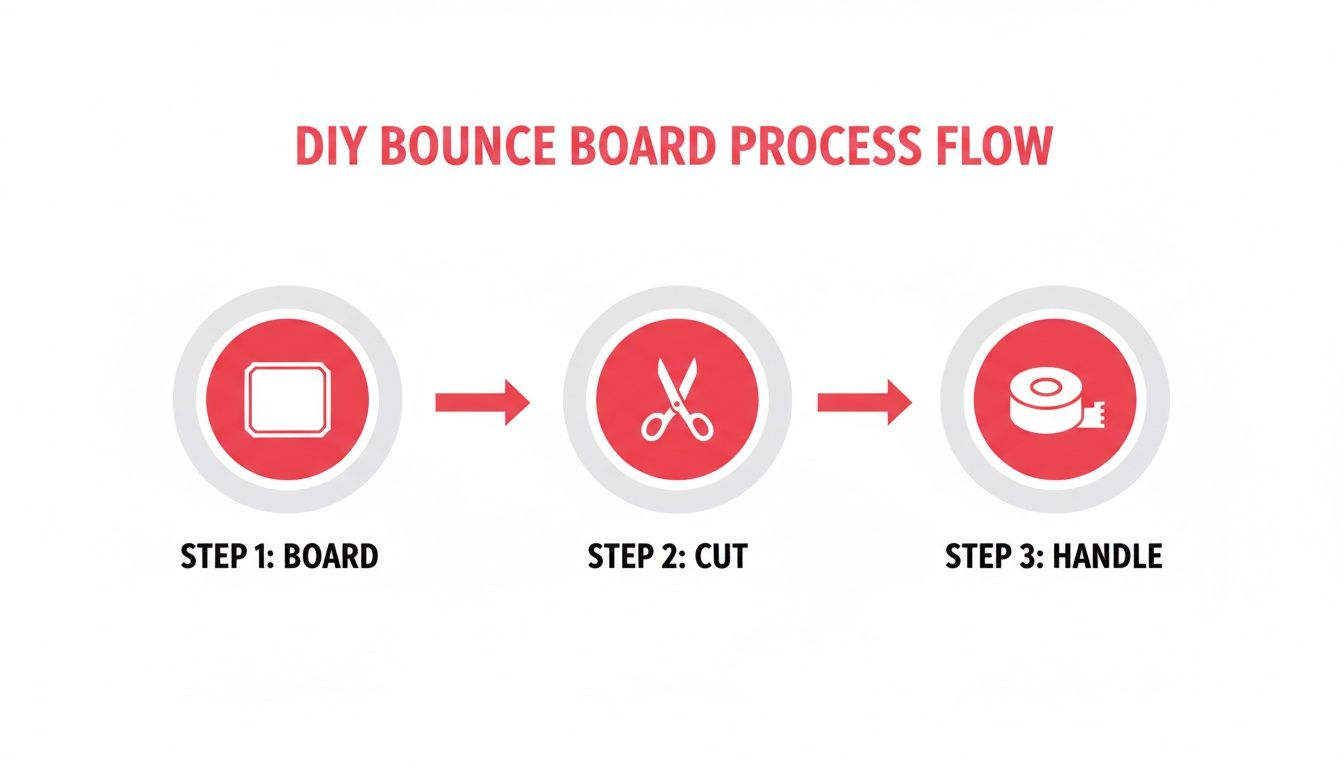
As the visual shows, this powerful tool is incredibly accessible. All it really takes is a foam board, a cutting tool, and maybe some tape for a handle to make positioning even easier.
Adapting to the Time of Day
The light changes dramatically throughout the day, so your bounce board strategy needs to adapt with it. Don't be afraid to move the board around and experiment as the sun moves across the sky.
During the harsh light of midday, when the sun is directly overhead, I often use my bounce board to fill in the very dark, sharp shadows it creates inside. I might place it lower to the ground to bounce light upwards, softening those dramatic lines.
In the late afternoon, when the light is golden and coming in at a low angle, the bounce board is perfect for throwing that warm glow deeper into the room. This can create a wonderfully cozy and atmospheric shot that feels authentic, giving potential guests a real sense of what it's like to actually be there.
Solving Common and Tricky Lighting Problems
Every property has one. You know the room—the one with frustrating, tricky lighting that just refuses to cooperate. This section is your field guide for turning those difficult spaces into beautifully lit photos.
Let's start with the most common culprit: the room that's half sun-drenched, half dark cave. It's a classic problem where a window floods one side with light, leaving the other in deep shadow. A single bounce board can help, but sometimes it just isn't enough to bridge the gap. That’s when a simple two-step bounce can work wonders.
Tackling High-Contrast Rooms
Your goal here is to gently fill in the shadows without making it obvious. I always start by placing my main, large bounce board opposite the window to lift the darkest areas, just like we've discussed. Then, I’ll grab a second, smaller board and position it closer to the camera, angling it toward the room's mid-tones.
This second bounce catches and redirects the already softened light, creating a much smoother gradient from bright to dark. It’s all about layering light, not just blasting it into the shadows.
Think of it this way:
- Board 1 (The Lifter): This one does the heavy lifting, bringing the darkest corners out of the gloom.
- Board 2 (The Blender): This board smooths the edges, ensuring a natural, balanced look across the whole frame.
My Early Bounce Board Blunders
When I first started out, I made a ton of mistakes. One of my biggest was shoving the bounce board way too close to my subject. In my mind, closer meant brighter. All it really did was create a second set of harsh, weird-looking shadows. It looked completely unnatural.
Lesson Learned: If your bounced light is creating new, visible shadows, your board is too close. Back it up until the light blends seamlessly. You're aiming for a soft lift, not a spotlight effect.
Another headache is dealing with "hot spots"—those super bright patches of direct sun hitting the floor or a wall. You can’t bounce that kind of light; it’s just too harsh. The real trick is to diffuse the light before it even enters the room. Hang a sheer white curtain or sheet over the window, and you'll instantly turn that harsh beam into a giant, soft light source that you can then easily bounce around the room.
Managing light quality like this is becoming more important than ever. The architectural lighting market is on track to hit $63.84 billion by 2030, and a lot of that is driven by smart tech and human-centric design. Many modern rentals use surface-mounted fixtures—which hold 28% of the market—and a bounce board is the perfect tool to soften and diffuse that light to make it feel more natural. You can read more about these architectural lighting trends to see how professionals approach it.
Lock Your Exposure for Perfect Shots
Finally, let's talk about your camera or smartphone. After you've perfectly placed your bounce boards and the room looks amazing, your phone's auto-settings can betray you. It might see all that beautiful new light and try to "correct" it by automatically darkening the image.
To stop this from happening, use the AE/AF Lock (Auto Exposure/Auto Focus Lock) on your phone. Just tap and hold on the screen where you want to set your focus and brightness. This locks in the exposure, so your camera captures the bright, balanced scene you actually created. It’s also a huge help with color accuracy, a topic we dive into in our complete guide to understanding white balance in photography.
The Final Polish Your Photos Deserve
Getting your lighting right on-site with a bounce board is about 90% of the battle. Honestly, it’s the most important work you can do to create the foundation for a stunning photo. But that last 10%? That’s the professional polish that makes a guest stop scrolling and start imagining their vacation. And for that, I’ve learned to let go and trust an expert.
Once you’ve captured those beautifully balanced images, the handoff is where the magic really happens. This is where a service like rental.photos becomes a crucial part of my workflow. I've done the hands-on work of shaping the light; their team takes over to perfect it.
From Great to Unforgettable
The process couldn't be simpler. I just send them the photos I took, already confident they’re well-lit thanks to my bounce board. From there, a team of real human editors, aided by some smart software, refines everything.
They enhance the light you’ve so carefully crafted, make the colors pop, and ensure every single photo in your gallery feels cohesive and inviting. It's this one-two punch of your on-site skill and their post-production expertise that really makes a difference. You save countless hours struggling with complex editing software, and your listing gets a competitive edge that builds trust and drives bookings.
Combining good on-site lighting techniques with professional editing isn't just about showing a room; it's about selling an experience. This two-step process elevates your listing from just another option to a top contender.
Smart Lighting Meets Smarter Editing
The tech behind modern lighting has made our job so much easier. Today's LEDs deliver over 100 lumens/watt and are incredibly efficient—perfect for getting great light without a huge electricity bill. Bouncing this efficient light evens out tones in tricky spaces, which has been shown to boost bookings by up to 35%.
A service like rental.photos, with its $49 package, builds on this foundation. They take your well-lit shots and polish them with their human-AI process, delivering those warm, professional results in under 24 hours. If you want to dive into the data, you can explore the impact of ambient lighting innovations on Mordor Intelligence.
Ultimately, your job is to capture the soul of your space. Using a lighting bounce board gets you most of the way there. Partnering with an expert for that final polish ensures your photos truly connect with guests, fill your calendar, and maximize your rental's potential.
Your Bounce Board Questions Answered
When I first picked up a lighting bounce board, my head was swimming with questions. It’s such a simple tool, but the little details can feel a bit overwhelming at first. So, I’ve put together this section to give you clear, straightforward answers to the most common questions I hear from other hosts.
Think of this as your personal cheat sheet for getting started with total confidence.
What Is the Best Color for a Lighting Bounce Board?
For shooting rental interiors, a simple white matte surface is your best friend. It’s reliable, it’s versatile, and it reflects a soft, neutral light that won’t skew the colors of your carefully chosen decor or paint.
Some photography reflectors come with a silver side for a brighter, more intense reflection. I find this usually looks too harsh and clinical for a cozy living room. The same goes for a gold surface—it can add a nice warmth, but it's a double-edged sword that can easily make your crisp white bedding look dingy and yellow. My honest advice? Just stick with a basic white foam core board. It’s foolproof and delivers that clean, bright look guests love.
Can I Use a Bounce Board with My Smartphone?
Absolutely! In fact, I highly recommend it. A bounce board works its magic on the light itself, so it doesn’t care if you're using a high-end DSLR or the phone in your pocket. The light gets softer and brighter no matter what you're shooting with.
The real trick is to master your phone's automatic settings. Before you snap the picture, tap and hold on your screen to activate the 'AE/AF Lock.' This one simple move stops your phone from automatically darkening the photo after you’ve introduced all that beautiful new light. It’s how you capture the bright, balanced image you’re actually seeing.
I can't stress this enough: using the AE/AF Lock is the key to making a bounce board work effectively with a smartphone. It prevents the phone's software from undoing all your hard work.
Do I Still Need a Bounce Board on a Cloudy Day?
Yes, and you might be surprised to hear that cloudy days are some of my favorite times to use one. On an overcast day, the light coming through a window is already soft and diffused, which is great. The downside is that it can also make a room feel a bit flat and gloomy.
A bounce board is the perfect fix. It lifts those subtle shadows and adds a bit of life and dimension back into the room. I just place it opposite the main window to fill in the darker areas, making the whole scene feel brighter and more inviting, even without direct sun. To learn more about mastering your camera in different conditions, check out our other posts on the rental.photos blog.
Ready to give your photos the professional polish they deserve? At rental.photos, we take your well-lit images and make them unforgettable. Submit your listing photos today and see the difference in 24 hours.
Enhanced by the Outrank app
Ready to have professional photos?
Our team transforms your existing rental photos into stunning, high-converting images that bring you more bookings. No photoshoot required. 100% refund guaranteed.
Improve My Photos →