A Host’s Guide to Using a Real Estate Photo Editor
When I first got into hosting, I did what a lot of people do. I grabbed my phone, snapped a few pictures, uploaded them, and then waited for the bookings to roll in. They didn't. My fantastic little rental just sat there, empty. I was stumped until I had a tough realization: my photos were honest, but they were doing zero work to actually sell the experience.
That's when I discovered the magic of a real estate photo editor. It's not about faking anything or changing your space—it's about showing off its true potential in the best possible light.
Why Great Photos Are Your Best Marketing Tool
Think of your listing photos as your hardest-working employee, on the clock 24/7. Long before a potential guest reads your witty, perfectly written description, they've already formed an opinion based on your images. Do they look inviting? Can they imagine themselves kicking back on that couch with a good book? That first impression is everything, and it’s almost entirely visual.
This isn't just a hunch I have; it's what drives booking decisions. Fantastic photos signal value, create immediate trust, and let guests know they can expect a quality stay. In a sea of listings, they are the single most powerful tool you have to stand out.
The Secret Weapon for Savvy Hosts
This is exactly where a real estate photo editor becomes a host's secret weapon. They close the gap between the decent photos you can snap yourself and the stunning, scroll-stopping images you see on the most successful listings. The point isn't to make your property look like something it's not. It's about polishing away the small distractions the camera captures that our eyes naturally filter out.
A professional editor can take a "good enough" photo and turn it into an irresistible invitation. They dial in on a few key elements:
- Lighting and Brightness: Making rooms feel airy, bright, and welcoming instead of dim and closed-in.
- Color and Vibrancy: Ensuring the colors are rich and true-to-life, so your decor really pops.
- Clarity and Sharpness: Highlighting the beautiful details you’ve put so much effort into, from the crisp linens to the spotless kitchen counters.
The goal is simple: make a guest fall in love with your space before they even set foot inside. Professional editing captures the feeling of your rental, not just the physical features.
More Than Just a Pretty Picture
The demand for pro-level visuals has exploded. The real estate photo editing services market was valued at an incredible USD 1.2 billion and is on track to more than double to USD 2.5 billion by 2033. This massive growth tells you everything you need to know about how critical high-quality images are for securing bookings and sales.
Let's break down the difference you can expect.
Quick Look: Pro Editing vs. DIY Photos
See the immediate impact of using a professional editing service compared to relying on standard, unedited photos for your rental listing.
| Feature | DIY Photos | Professionally Edited Photos |
|---|---|---|
| First Impression | Can look amateur, dark, or uninviting. | Polished, bright, and immediately appealing. |
| Color Accuracy | Often dull, with strange color casts (yellowish lighting). | Vibrant, true-to-life colors that make decor stand out. |
| Lighting | Uneven shadows, dark corners, window glare. | Balanced, even lighting that makes rooms feel spacious. |
| Perspective | Skewed angles and distorted lines that look unprofessional. | Straight vertical lines and a natural, appealing perspective. |
| Guest Perception | May suggest a lower-quality or poorly maintained property. | Communicates professionalism, quality, and attention to detail. |
Investing in photo editing is a direct investment in your booking rate. It paves the way for higher nightly rates, glowing reviews, and a calendar that stays booked solid. From basic photo edits to more advanced visual tools, great marketing starts with what guests see first. For a deeper dive into other visual tools, you can explore our guide on 3D photography for real estate.
Setting the Stage for a Perfect Photoshoot
Before you even think about uploading a single file to a real estate photo editor, the real work has to happen on-site. It’s a classic mistake to assume that editing is a magic wand that can fix a poorly staged room. The reality? The better your original photos are, the more spectacular the final results will be.
I’m not suggesting you need a full renovation or a pricey interior designer. It’s all about the small, thoughtful details that make a space photogenic. Think of it this way: your job is to prepare the canvas, and the editor's job is to make the colors pop.
Create an Inviting Atmosphere
Your mission is to make the space feel both spotless and welcoming—a delicate but crucial balance. Potential guests need to see a clean, professionally maintained property, but they also need to be able to picture themselves relaxing there. This process starts with a deep clean, but it definitely doesn't end there.
Over the years, I've developed a pre-shoot routine that takes less than an hour but completely changes the game. I walk through the entire property with a guest’s critical eye, spotting anything that looks even slightly off.
Here’s my go-to pre-shoot checklist:
- Fluff every single pillow and cushion. It’s such a small thing, but it makes furniture look instantly plush and inviting.
- Hide all visible cords. Tuck away chargers, lamp cables, and TV wires. A clean, cordless look feels intentional and high-end.
- Add a touch of life. A simple vase of fresh flowers or a bowl of crisp green apples on the kitchen counter brings in color and warmth.
- Set the scene. I often set the dining table for two or place an open book and a coffee mug next to a cozy armchair. It helps guests imagine living in the space.
Mastering Light and Space
Light is, without a doubt, your most powerful tool. It's no surprise that well-lit images draw people in, while dark, gloomy photos can make a place feel drab and unappealing. Natural light is almost always your best bet, so schedule your shoot for when your rental is flooded with sunlight.
A simple rule I always follow: open every curtain and blind. Let that sunlight pour in. Even on an overcast day, natural light is far more flattering than harsh indoor lighting. I also turn on all the lamps to create a warm, layered glow.
This prep work gives your editor a fantastic starting point. They can then expertly balance the exposure and correct tricky shadows, rather than trying to salvage a photo that was dark and grainy from the start. Of course, your camera settings play a big role, too. If you're looking to get more comfortable behind the lens, check out our guide to mastering photography in manual mode for some hands-on tips.
By focusing on these simple staging details, you're setting every photo up for success. You’re not just taking pictures of a room—you’re capturing the incredible experience that awaits your future guests.
Essential Edits That Turn Viewers Into Guests
This is where the magic really happens. You’ve done the hard work of staging your space to look its best. Now, a skilled real estate photo editor comes in to take those good shots and make them absolutely irresistible.
It’s not about faking anything. It’s about making your photos feel as warm and inviting as the room does in real life. Good editors zero in on a few key areas that make a massive difference in how a potential guest sees your property.
Mastering Light and Exposure
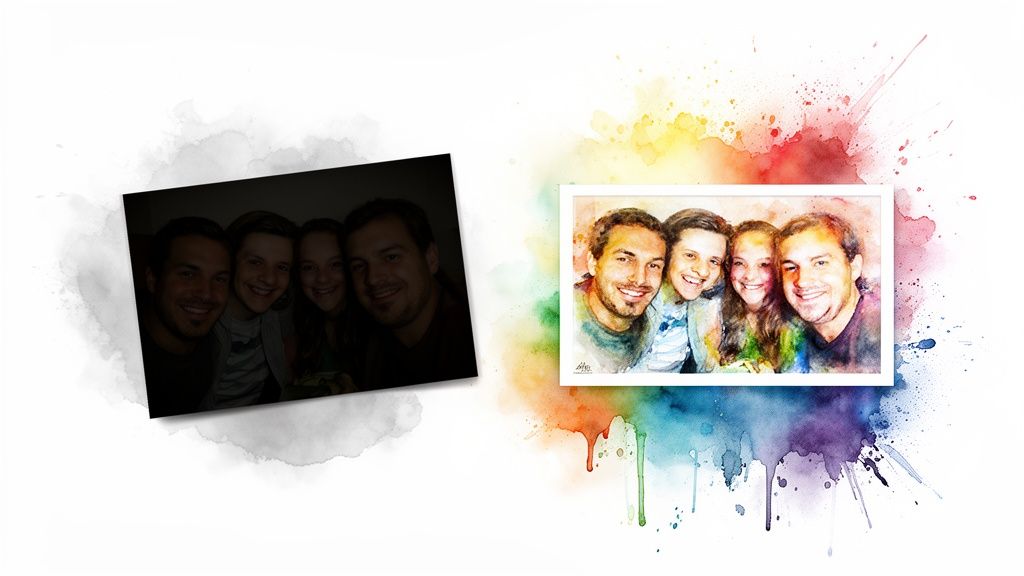
The first thing any good editor will fix is the lighting. Cameras struggle to capture what our eyes see—windows often get blown out with bright light, while corners end up looking dark and gloomy. This is where brightening and exposure adjustments save the day.
A pro editor will balance these extremes. They’ll gently lift the shadows to show the detail you’ve put into every corner and recover the highlights so guests can actually see that amazing view outside the window. The goal is to make the room feel bright, airy, and open, not dark and cramped. Well-lit photos just feel more appealing because everything is clear, giving viewers a much more positive impression.
Perfecting Color and Vibrancy
Ever take a picture where your crisp white walls have a strange yellow tint, or that beautiful blue sofa looks dull and lifeless? It’s a super common problem, but thankfully, it’s an easy fix for an expert. Getting the color right is crucial for making your property look clean, fresh, and true-to-life.
Your editor will tweak the white balance to ensure whites are actually white and all the other colors are rich and accurate. They might also give the saturation and contrast a tiny boost to make your decor pop, but never so much that it looks unnatural. This little detail makes a huge difference in showing off the true quality of your rental.
The best photo editing is invisible. A guest shouldn't think, "This photo is well-edited." They should think, "I want to stay there." The edits should enhance the reality of your space, not create a fantasy.
Correcting Perspective and Lines
Shooting in smaller rooms often leads to photos where the walls look like they’re leaning in on themselves. It's a dead giveaway of an amateur photo, and that distortion can make a room feel cramped and just... off.
A professional editor uses perspective correction to straighten everything up, making sure walls, doors, and furniture are perfectly vertical. It’s a simple fix that instantly makes your photos look more polished and can even make the room feel bigger and more structurally sound.
Technology has come a long way here. Many services now use AI-powered tools to speed up these corrections. We’re also seeing a huge rise in virtual staging for empty properties and even VR tours that let guests explore a space from their own home. You can learn more about how the industry is changing in this detailed industry report.
Decluttering and Object Removal
Even after you've tidied up, tiny distractions can slip into your shots—a stray phone charger, a scuff mark on the wall, or your own reflection in a mirror. A good photo editor can make these little imperfections disappear.
This isn't about misleading anyone. It’s about removing temporary distractions so the viewer can focus on the space itself. Think of it as presenting your property in its absolute best light. For a closer look at the techniques behind this, check out our guide on how to edit real estate photos.
Finding the Right Photo Editing Partner
Not all photo editing services are built the same, and picking the right one can save you a world of headaches down the road. After some trial and error, I realized the best real estate photo editor for a host isn’t always the one with the flashiest features. It's the one that gets our specific goal: making a space feel warm and inviting, not cold and corporate.
The search can feel a bit overwhelming at first, but I’ve found that zeroing in on a few key things makes the decision way easier. A good partner will be totally transparent about what they offer and how much it costs, which is a lifesaver for busy hosts like us.
What to Look For in a Service
I learned pretty quickly that some services go way too heavy on the processing, creating an artificial look that just doesn't fly for short-term rentals. You want your property to look like an enhanced version of reality, not a computer-generated image.
Here’s what I now consider non-negotiable when picking a service:
- Human Review: Automated AI is fast, but it often misses the little details that make a space feel cozy. I always look for a service that has a real person do a final check. It ensures the images have that authentic, human touch.
- Transparent Pricing: Find a service with simple, upfront pricing. A flat fee per listing or a clear price per batch of photos is perfect. Steer clear of confusing credit systems or hidden add-on costs that sneak up on you.
- A Simple Upload Process: You don't have time to battle clunky software. The best services have a simple drag-and-drop uploader or, even better, can pull photos directly from your existing Airbnb or Vrbo listing.
This blend of human oversight and simple, no-fuss processes is the sweet spot. You get top-notch results without adding another complicated task to your already full plate.
The right editing partner doesn't just brighten photos; they understand the story you're trying to tell. Their job is to help you communicate the welcoming experience guests will have, turning your photos into powerful booking magnets.
Balancing Quality with Authenticity
At the end of the day, you’re looking for a service that respects the integrity of your property. Good editing is all about enhancement, not misrepresentation. It's about correcting a distorted lens and brightening up shadows, not digitally adding a fireplace or making a small room look like a ballroom.
A trustworthy real estate photo editor will deliver images that are both stunning and true to your space. This approach builds guest trust from the very first click, setting you up for a great experience and even better reviews. When you find that perfect partner, they become a seriously valuable part of your hosting toolkit, helping you consistently put your best foot forward.
Your Simple Workflow From Camera to Listing
So, what does this actually look like in practice? The best part about using a professional real estate photo editor is just how simple it is. Forget wrestling with complicated software or endless email chains. The whole system is built for busy hosts who need great results without the headache.
Modern services, like our own at rental.photos, give you a couple of dead-simple ways to get started. You can just drag and drop your photos right onto the website. Or, my personal favorite time-saver, you can paste a link to your live Airbnb or Vrbo listing, and the service grabs the photos for you. It really is that easy.
From Your Upload to Our Editors
Once you’ve sent your images over, a powerful mix of smart tech and human skill kicks in. First, intelligent models perform the initial heavy lifting, correcting common problems like bad lighting, wonky colors, and weird angles. This first pass is super fast and lays the groundwork for the final polish.
But the magic is in the human touch. After the initial automated edits, every single photo is handed off to a professional human editor. This is what truly separates a decent photo from a stunning one. They fine-tune everything to make sure the images feel natural and welcoming, not artificial or over-edited. Their goal is to capture the genuine character of your space, and they usually get it done in less than 24 hours.
This graphic breaks down the simple three-step journey your photos take.
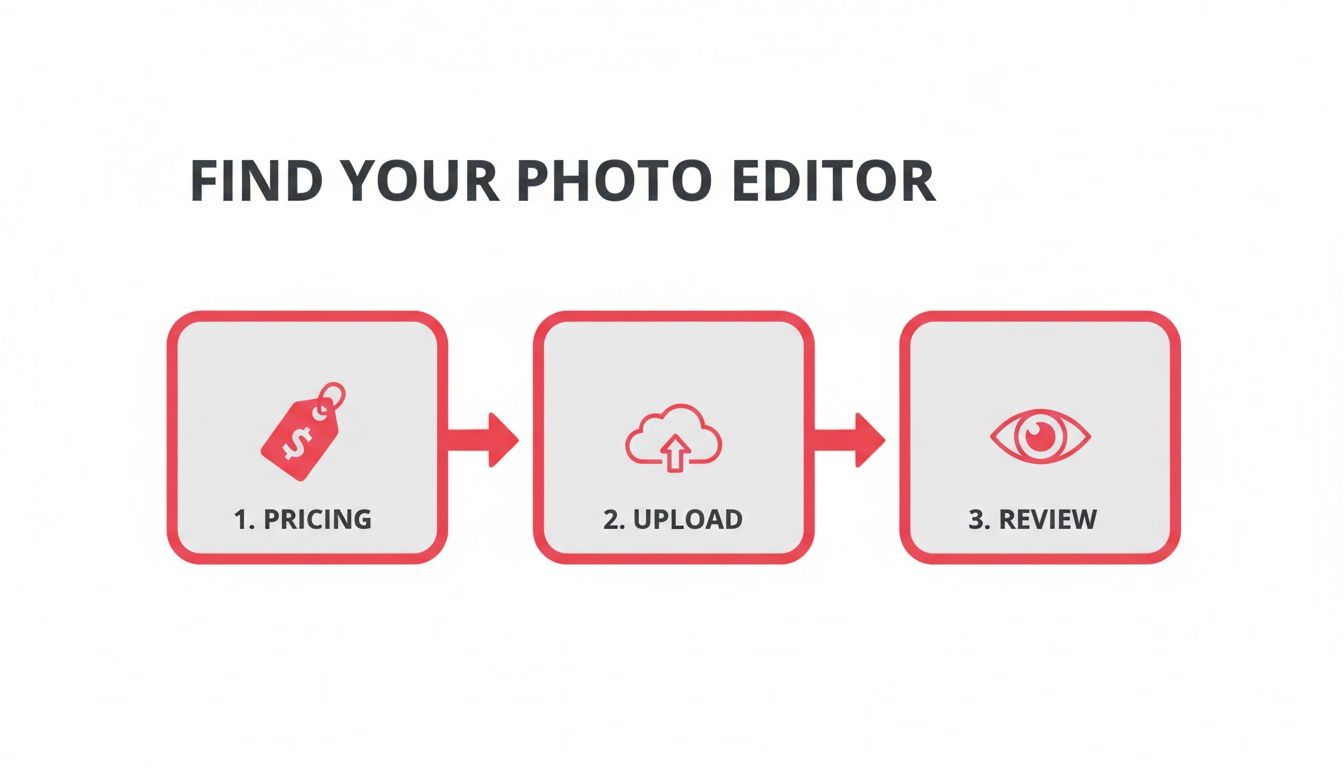
It’s all been boiled down to pricing, uploading, and reviewing—making professional results something any host can achieve.
Receiving and Using Your Polished Photos
When your new photos are ready, you’ll get them back as high-resolution JPEG files. This is the universal standard for booking platforms, so you can upload them straight to your listing without any extra steps. The images are delivered perfectly optimized for sites like Airbnb, so they’ll load quickly and look incredible on everything from a phone to a desktop.
This small upfront effort pays off big time. Listings with professional-quality photos can get up to 61% more views, and potential guests spend 60% of their time on a listing just looking at the pictures. Great images don't just make your property look better; they make it perform better, turning browsers into paying guests. If you're a numbers person, you can dig into more of the impact of real estate photography statistics and see the data for yourself.
Answering Your Top Photo Editing Questions
I get it. Even when you see the benefits, outsourcing something as important as your listing photos can feel like a big step. When I first started looking for a real estate photo editor myself, I had a ton of questions. Let’s tackle some of the most common ones I hear from other hosts.
Should I Just Hire a Photographer Instead?
This is a classic budget vs. time question. A professional photographer is fantastic, no doubt about it, but their services come with a hefty price tag. For a new host, that can be a tough pill to swallow.
Honestly, with today's smartphones and a little bit of planning for good natural light, you can take some excellent source photos yourself. A photo editing service acts as the bridge, taking your good shots and giving them that professional, polished look for a fraction of what a full photoshoot would cost. It’s a smart, high-impact move for most hosts.
Will an Editor Make My Photos Look Fake?
This is a huge, and very valid, concern. Nobody wants their property to look like a CGI rendering. The key to keeping it real is to find a service that doesn't just rely on algorithms.
The secret sauce is a human touch. Services that have professional editors review every single photo are the way to go. They're trained to enhance, not fabricate. Their goal is to make your space look its absolute best—bright, inviting, and authentic—without misrepresenting it. Think of it as your property on its best day.
How Many Photos Do I Actually Need for My Listing?
Based on my own listings and analyzing top-performing ones, the magic number is somewhere between 20 and 30 photos. This is enough to give potential guests a comprehensive tour without overwhelming them.
Make sure you cover all the bases:
- Every room, shot from a couple of different angles to show the layout.
- The special details that make your place unique—the fancy coffee maker, the board game collection, the high-end toiletries.
- All outdoor areas like the balcony, garden, or patio space.
- A clear shot of the front of the property so people know what they're looking for when they arrive.
You're essentially walking them through the space, answering their questions visually before they even think to ask.
What are the Most Common Photo-Taking Mistakes?
I see the same three mistakes over and over again: bad lighting, clutter, and weird angles. First, always shoot in the daytime. Open every blind and curtain, and turn on every single lamp and overhead light. This creates that warm, welcoming glow you see in professional shots.
Next, do a "photo-ready" sweep. Hide the personal photos, tuck away the mess of charging cables, and clear off the kitchen counters. It makes a world of difference. Finally, to avoid that strange, fun-house mirror effect, stand in a corner and shoot wide, but keep your camera perfectly level. This prevents the walls from looking like they're leaning in or falling over.
Ready to see how professional editing can transform your own photos? rental.photos combines smart tech with a human review process, designed specifically for hosts like us. For just $49 per listing, you can get up to 30 polished photos that will stop scrollers in their tracks.
Ready to have professional photos?
Our team transforms your existing rental photos into stunning, high-converting images that bring you more bookings. No photoshoot required. 100% refund guaranteed.
Improve My Photos →