Best lighting for standout property photos
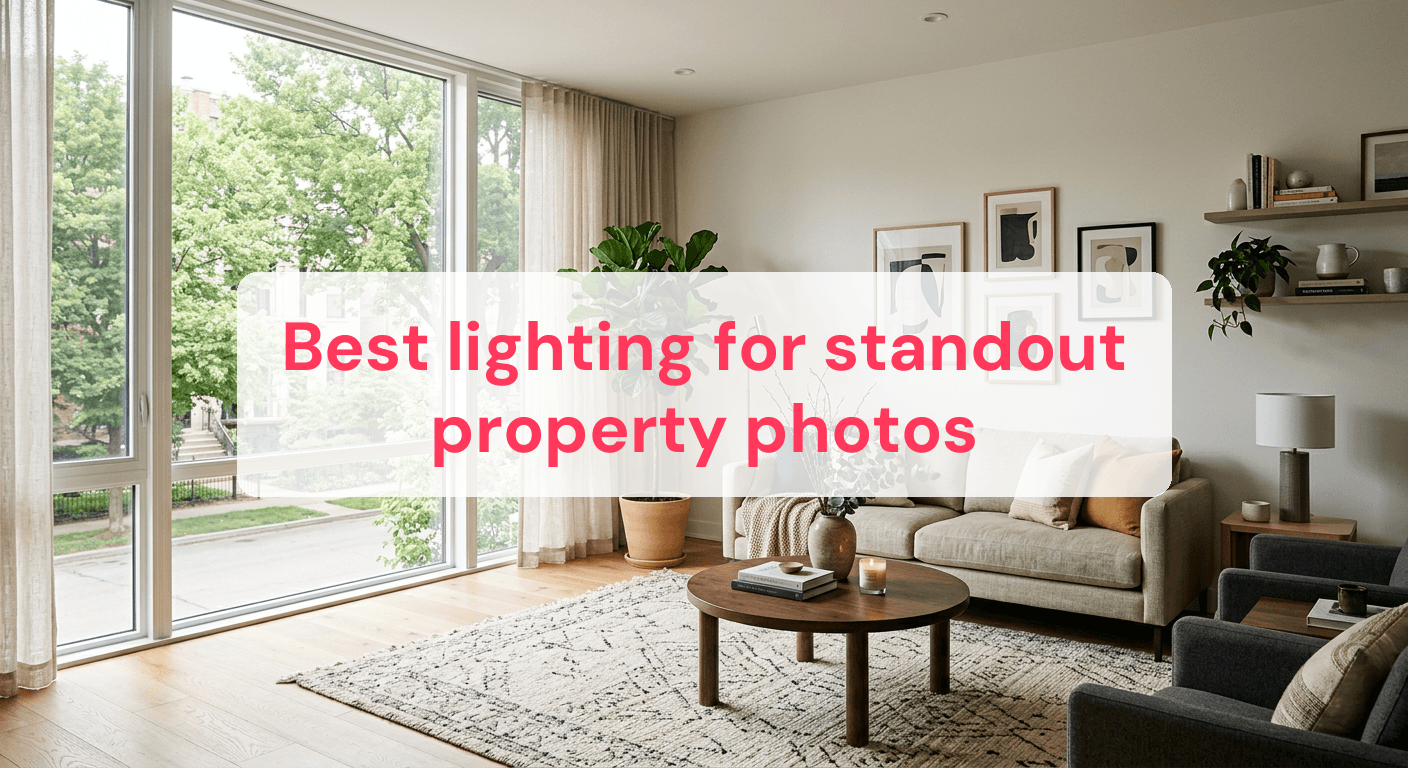
The best lighting for property photos can dramatically enhance visual appeal, attracting more guests and increasing bookings. Use natural light, reduce harsh shadows, and optimize indoor lighting setups to transform your rental property photos into compelling images that stand out to potential guests.
Maximize natural light for vibrant photos
Harnessing natural light can profoundly impact the quality of your rental property photos, making spaces appear more inviting and authentic. Here's how to make the most of natural lighting to capture vibrant photos that entice potential guests.
Capture during the golden hour
To achieve the most flattering light, aim to shoot during the golden hour, shortly after sunrise and before sunset. During these times, the light is softer and more diffused, creating warm and inviting images.
- Plan your photoshoot: Check local sunrise and sunset times to schedule your shoot.
- Test different angles: Use the soft, directional light to experiment with various angles, highlighting unique features of your property.
- Adjust your settings: Use a low ISO setting and a wider aperture (f/2.8 to f/4) to let in more light and achieve a shallow depth of field, emphasizing the subject.
Avoid mid-day harshness
Mid-day light can be overly harsh, creating unflattering shadows and washed-out images. Instead, focus on times when the light is naturally softer.
- Living rooms: Capture during morning hours when sunlight gently filters through windows.
- Bedrooms: Late afternoon light can bring out the cozy and warm ambiance.
- Kitchens: Early morning or late afternoon light can highlight features without creating glare on shiny surfaces.
For more insights on capturing standout rental photos, check out our Photography tips for standout rental properties.
By strategically using natural light, you can create compelling images that showcase your property at its best.
How to fix harsh shadows without extra gear
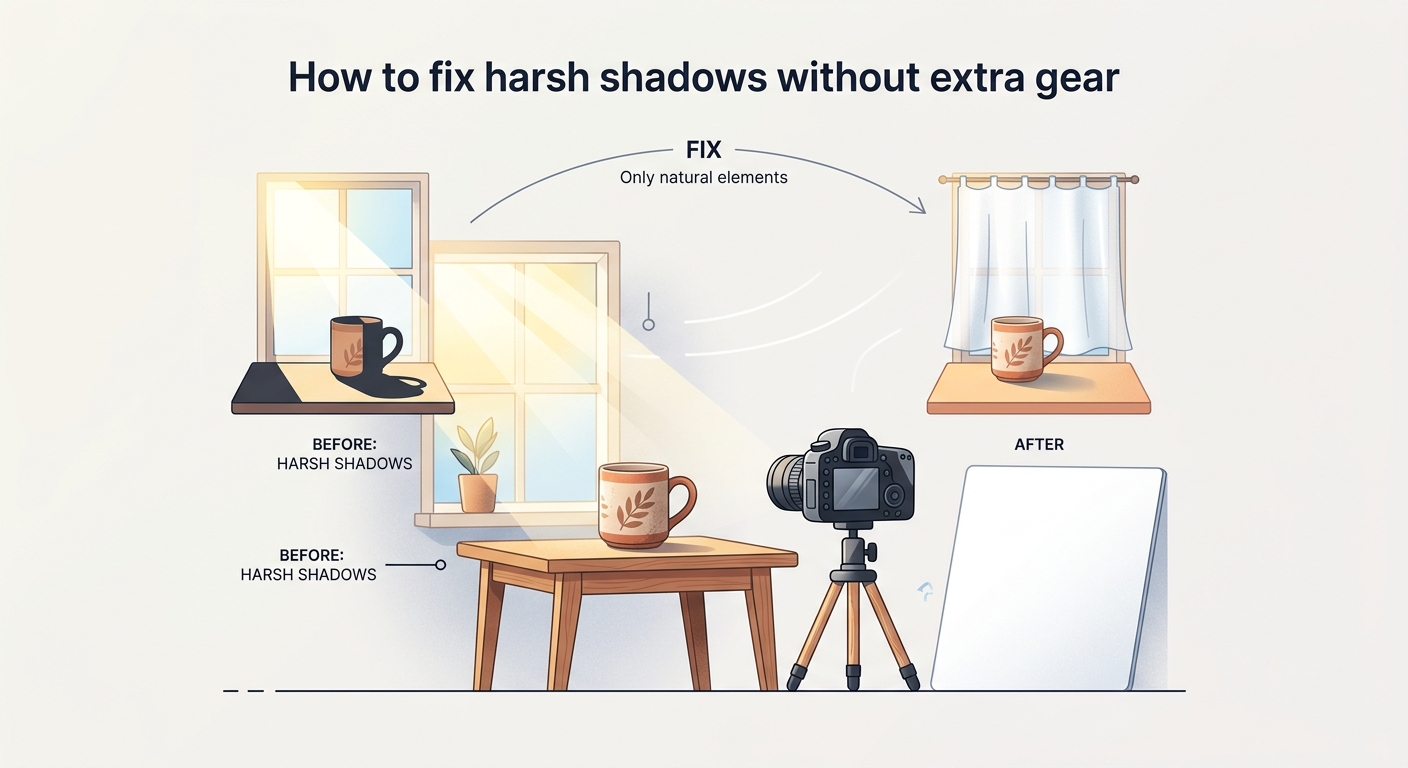
Harsh shadows can detract from the appeal of your property photos, creating an uneven and uninviting appearance. Fortunately, you can mitigate these shadows with a few simple adjustments, all without needing additional equipment.
Re-arrange room layout for better light flow
One effective way to reduce harsh shadows is by adjusting the arrangement of furniture and decor to improve the flow of natural light. Follow these steps to achieve a more evenly lit space:
- Identify shadow sources: Observe which objects or furniture pieces are causing the shadows. Often, bulky furniture or decor items positioned against a light source can lead to harsh shadows.
- Reposition obstructive items: Move or angle large furniture pieces away from windows or primary light sources, allowing light to spread more evenly across the room.
- Utilize reflective surfaces: Strategically place mirrors or light-colored objects to reflect natural light into shadowed areas, softening harsh contrasts.
In practice, consider a living room where a large sofa blocks window light. By repositioning the sofa or adding a mirror opposite the window, you can enhance light distribution, reducing shadows.
Use curtains or blinds strategically
Curtains and blinds aren't just for privacy; they can be your allies in managing light and shadows:
- Diffuse harsh light: Use sheer curtains to soften direct sunlight, reducing sharp shadows while maintaining a bright atmosphere.
- Control light entry: Adjust blinds to direct light upwards or downwards, minimizing direct angles that create harsh lines.
- Balance light sources: If one side of the room is overly bright, partially close curtains or blinds on that side to equalize the light across the space.
By employing these techniques, you can create a more balanced lighting environment, ensuring your property photos are inviting and shadow-free. For more tips on managing interior lighting, explore our Interior Lighting Setup Tips to Boost Rental Bookings.
Utilizing artificial lighting to complement natural light
While natural light is ideal for property photography, there are times when it is insufficient, especially in dimly lit interiors or during evening shoots. Artificial lighting can effectively fill in the gaps, enhancing your indoor photos and ensuring your property is showcased in the best possible light.
Choosing the right bulb temperature
Selecting the appropriate bulb temperature is crucial in achieving the desired ambiance in your photos. Bulb temperature is measured in Kelvin (K) and can dramatically affect the mood of your images.
- Warm lighting (2,700K - 3,000K): This range creates a cozy and inviting feel, perfect for bedrooms and living spaces where you want to emphasize comfort and relaxation.
- Cool lighting (4,000K - 5,000K): Use cooler temperatures in spaces like kitchens or bathrooms to highlight cleanliness and modernity, providing a crisp, clear appearance.
By deliberately choosing between warm and cool lighting based on the room's function, you can highlight your property's best features and create a cohesive visual narrative.
Essential lighting accessories for indoor shoots
Incorporating the right lighting accessories can significantly enhance your indoor photography setup. Here are some essentials to consider:
- Lamps: Floor and table lamps are versatile tools that can be used to add supplemental light to specific areas, creating depth and reducing shadows.
- LED panels: These panels offer adjustable brightness and color temperature, allowing you to tailor the lighting to suit different rooms and times of day.
- Reflectors: Use reflectors to bounce artificial light into darker areas, balancing the overall exposure of your photos.
Strategically using these accessories can help you achieve a well-lit, inviting atmosphere in your property photos. For a deeper dive into interior lighting techniques, check out our Interior Lighting Setup Tips to Boost Rental Bookings.
By applying these strategies, you can integrate artificial lighting with natural light, ensuring your rental property shines in every photograph.
Adjust camera settings for optimal lighting capture
To capture the best lighting in your property photos, understanding and adjusting camera settings like ISO, aperture, and shutter speed is crucial. These settings work together to control exposure, ensure clarity, and highlight the unique features of your rental space.
Balancing exposure for interior shots
When photographing interiors, achieving the right exposure can be challenging due to varied light sources and room sizes. Here’s a step-by-step guide to help you balance exposure effectively:
-
Set ISO Sensitivity: Start with an ISO setting between 100 and 400. This range minimizes noise while allowing enough sensitivity to light, especially in well-lit rooms. In darker spaces, you might need to increase the ISO, but avoid going too high to prevent grainy images.
-
Adjust Aperture (f-stop): Use a smaller aperture (higher f-stop number, like f/8 to f/11) for a deeper depth of field, ensuring that both foreground and background elements are in focus. This setting is ideal for capturing entire rooms with clarity.
-
Control Shutter Speed: Opt for a slower shutter speed when using a tripod, which allows more light to hit the sensor and brightens the image. If shooting handheld, ensure the shutter speed is fast enough to prevent blurring, typically no slower than 1/60th of a second.
By carefully balancing these settings, you can achieve well-lit, sharp interior photos that showcase your property’s best attributes.
Fine-tuning settings for different lighting conditions
Different lighting conditions require specific adjustments to your camera settings. Here’s how to adapt:
-
Bright Rooms: In rooms flooded with natural light, lower the ISO and use a smaller aperture to prevent overexposure. A faster shutter speed can also help reduce glare and highlight details.
-
Dim Rooms: Increase the ISO and open the aperture (lower f-stop) to allow more light. Use a tripod to accommodate slower shutter speeds without compromising image sharpness.
For more detailed insights on optimizing your photography setup, explore our Master Photography Lighting Setup to Boost Your Rental Bookings. By mastering these techniques, you’ll be well-equipped to capture stunning property photos with optimal lighting.
Common lighting mistakes and how to avoid them
In property photography, achieving the perfect balance of lighting is crucial. However, several common mistakes can detract from your photos' quality. Recognizing these issues and knowing how to fix them can significantly improve your images.
Spotting and correcting overexposure
Overexposure can wash out your photos, erasing details and making spaces appear less inviting. Here's how you can address this issue:
- Check your camera's histogram: Use the histogram to ensure the exposure is balanced, avoiding peaks at the right end that indicate overexposure.
- Adjust exposure compensation: Lower the exposure compensation setting on your camera to reduce brightness.
- Use bracketing: Capture multiple shots at different exposures and blend them in post-processing to achieve the perfect balance.
Ensuring consistent lighting temperatures
Mismatched lighting temperatures can result in photos with inconsistent color tones, making them look less professional. Follow these steps to maintain consistency:
- Identify sources of light: Determine the types of light in each room (e.g., natural sunlight, incandescent bulbs) and aim to harmonize them.
- Set a custom white balance: Adjust your camera's white balance setting manually to match the predominant light source in the room.
- Use the same type of bulb: If using artificial lighting, ensure that all bulbs have the same color temperature to prevent clashing hues.
By focusing on these areas, you can avoid common pitfalls and ensure your property photos stand out with clarity and professionalism. For more insights into lighting techniques, check out our Lighting for Photography: My Secret to Capturing Irresistible Rental Photos.
Common Questions
What is the best time of day to photograph a rental?
The best time to photograph a rental is during the golden hour, which is shortly after sunrise or before sunset. This time offers soft, warm light that enhances the property's features and creates inviting images. Additionally, shooting during these times helps minimize harsh shadows and reduces the likelihood of overexposure.
Do I really need a wide-angle lens for this?
Using a wide-angle lens is beneficial for capturing the full scope of a room, making spaces appear larger and more inviting. While not mandatory, a wide-angle lens allows you to include more of the room in your shots, which is especially useful for small or uniquely shaped spaces. If a wide-angle lens isn't available, try stepping back as far as possible to achieve a similar effect.
How can I make small rooms appear larger in photos?
To make small rooms appear larger, use techniques like shooting from the room's corners and keeping the camera at eye level. Ensure the room is well-lit and decluttered to avoid distractions. Incorporating mirrors and shooting in landscape orientation can also help create the illusion of more space. For more tips on enhancing your photography, explore our Vacation Rental Lighting: Transform Your Space and Boost Bookings.
To truly enhance your property photography, focus on maximizing natural light, which will bring out the best in your spaces with vibrancy and warmth. Complement this with artificial lighting where needed, ensuring a harmonious balance that avoids harsh shadows and mismatched color tones. Finally, remember to adjust your camera settings carefully to capture the perfect lighting conditions, making your photos not only visually appealing but also professionally polished. By applying these techniques, your property photos can significantly boost their appeal and, ultimately, your bookings.
Ready to have professional photos?
Our team transforms your existing rental photos into stunning, high-converting images that bring you more bookings. No photoshoot required. 100% refund guaranteed.
Improve My Photos →