Smartphone Photography Tips That Boost Rental Bookings
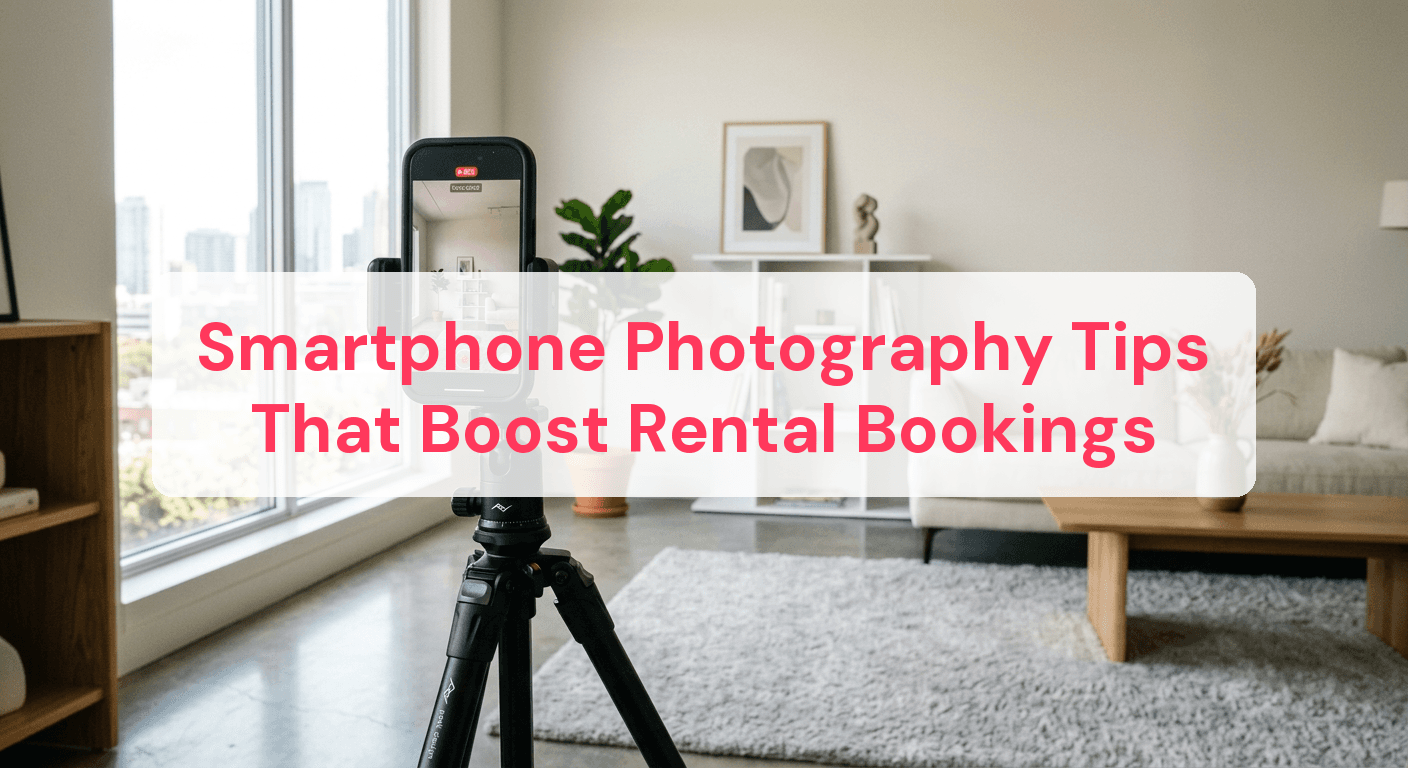
Did you know that listings with high-quality photos get 118% more views and 40% higher earnings? For many hosts, photography feels like a daunting task best left to the professionals. However, with the right techniques, your smartphone can be a powerful tool capable of capturing stunning images that captivate potential guests. High-quality photos don't just showcase your property; they tell a story and create an emotional connection that can turn a casual browser into a confirmed booking. By the end of this guide, you'll possess practical smartphone photography tips that enhance the visual appeal of your rental property, ultimately leading to more bookings and satisfied guests.
Get the Lighting Right Before You Shoot
Lighting is the backbone of any great photograph, especially when using a smartphone camera. While these devices are packed with impressive technology, they still rely heavily on good lighting to produce stunning images. Natural light can make or break a photo, and understanding how to harness it can elevate your rental listings significantly.
Embrace the Golden Hour
The golden hour—shortly after sunrise or before sunset—is renowned for its soft, warm tones and flattering light. Here's how you can make the most of this magical time:
-
Choose the Right Time of Day: Aim to shoot your photos either an hour after sunrise or an hour before sunset. This is when the light is softest and most golden, reducing harsh shadows and adding warmth to your images.
-
Arrange Furniture to Maximize Light: Position furniture and decor to make the most of the natural light. Consider moving items that block light or cast unappealing shadows.
-
Test Shots: Before committing to a full shoot, take a few test shots to see how the light interacts with your space. Adjust curtains or blinds if necessary to control light levels.
Remember, lighting can transform how potential guests perceive your property. By capturing images during the golden hour, you highlight your space's inviting and cozy atmosphere.
Avoid Harsh Shadows Indoors
Indoor lighting can be tricky, especially if you're dealing with direct sunlight streaming through windows. Diffuse harsh shadows for a more balanced look:
-
Use Curtains or Blinds: Soft, sheer curtains can diffuse sunlight, creating a more even light distribution throughout the room. This prevents harsh shadows that can detract from the image's appeal.
-
Rearrange Lighting Fixtures: Adjust your indoor lighting setup to complement natural light. This can often mean turning off overhead lights and using lamps to add warmth without adding glare.
For more detailed setups on lighting, check out our Photography Lighting Setup guide. By mastering these lighting techniques, you ensure your smartphone photos beautifully showcase your property, making them more likely to convert views into bookings.
Use Composition Tricks to Create Inviting Spaces
Crafting a visually appealing photo goes beyond just having the right lighting. Composition plays a crucial role in how viewers perceive your space. By employing a few simple composition techniques, you can create images that invite potential guests to imagine themselves in your rental.
Harness the Rule of Thirds
The rule of thirds is a foundational composition technique that can significantly enhance the visual interest of your photos. Here's how you can use it effectively:
- Imagine a Grid: Picture your frame divided into nine equal rectangles, creating a grid of two horizontal and two vertical lines.
- Position Key Elements: Align your primary focal points, such as a cozy reading nook or a stunning window view, along these lines or at their intersections. This naturally draws the viewer's eye to these points of interest.
- Create Balance: By offsetting the main subject to one side of the frame, you leave space for the viewer to explore the rest of the image, making it feel more dynamic.
For example, placing a plush armchair on the left third of the frame with a window view on the right creates a balanced and inviting composition.
Use Leading Lines to Guide the Eye
Leading lines are another powerful tool to guide the viewer's eye through your image. These can be naturally occurring lines or architectural features that draw attention to key areas of your space.
- Identify Lines: Look for natural lines like pathways, furniture edges, or the seams of hardwood floors.
- Guide Towards Features: Use these lines to direct attention to attractive elements, such as a beautiful fireplace or a stunning piece of artwork.
- Enhance Depth: Lines that converge in the distance can add depth, making your rooms appear larger and more inviting.
For example, photographing a hallway with lines from the floor and ceiling converging towards a sunlit living room can create a sense of journey and discovery.
Common Composition Mistakes to Avoid
While mastering composition, be mindful of common pitfalls that can detract from your images:
- Cluttered Backgrounds: Ensure the background is tidy and free from unnecessary distractions, like stray wires or cluttered countertops.
- Unbalanced Elements: Avoid having too many objects on one side of the frame, which can make the image feel heavy and unbalanced.
- Crooked Horizons: Keep the horizon straight to maintain a professional appearance. Use the grid feature on your smartphone to help align shots.
By focusing on these composition techniques, you can create images that not only attract attention but also convert views into bookings. For more advanced tips, explore our Vacation Rental Photography Tips to refine your skills further.

Maximize Your Smartphone's Camera Settings
Unlocking the full potential of your smartphone's camera can significantly elevate the quality of your rental listing photos. By delving into your camera settings, you can take control of crucial elements like exposure and focus, ensuring each shot is precisely how you envision it.
Mastering Manual Mode
Using your smartphone's manual mode can transform your photography. Here's how you can start mastering it:
-
Access Manual Mode: Open your camera app and switch to manual or pro mode. This setting is usually accessible through the camera's mode menu.
-
Adjust Exposure: Control the brightness of your photo by adjusting the exposure. Increase exposure to brighten dark images, or decrease it to avoid overexposure in bright settings. Aim for a balanced exposure to maintain natural lighting.
-
Set ISO: The ISO setting affects your camera's sensitivity to light. In low-light conditions, increase the ISO to capture more light, but be cautious—higher ISO settings can introduce noise. For bright environments, a lower ISO helps maintain image clarity.
-
Manually Set Focus: Achieve sharp images by manually setting the focus point. Tap on the screen to focus on specific elements, such as a piece of art or a unique architectural feature. This technique ensures your subject is crisp and stands out.
By following these steps, you can gain more control over your smartphone photography. For more advanced tips, explore our Photography In Manual Mode guide.
Fine-Tuning White Balance
Proper white balance is essential for capturing true-to-life colors in your photos. Adjusting this setting can help you avoid unnatural color casts and showcase your property in its best light.
-
Understand the Environment: Different lighting conditions—such as daylight, incandescent, or fluorescent—affect color temperature. Adjust the white balance to match the environment, ensuring colors appear natural.
-
Experiment with Presets: Most smartphones offer white balance presets for common lighting scenarios. Try different options to find the one that best suits your current shooting conditions.
-
Custom White Balance: For more precision, use the custom white balance setting. Point the camera at a white object under the given lighting conditions and set it as the reference for accurate color reproduction.
By mastering these camera settings, you can create stunning, professional-looking photos using just your smartphone, making your rental property stand out to potential guests.
Edit Photos to Highlight Your Property's Best Features
Enhancing your property photos can be the difference between a potential guest scrolling past your listing or clicking to learn more. Even with smartphone photos, post-processing is crucial to make your property shine.
Basic Editing Techniques
When editing your photos, focus on techniques that enhance what your property already offers. Start with these basics:
-
Cropping: Use cropping to eliminate distractions and focus on the most important features of the room. For instance, if you have a stunning view, crop out any clutter to ensure that the view is the focal point.
-
Color Correction: Adjust the color balance to ensure that your photos reflect the true colors of your space. This might mean warming up the image if it looks too cool or toning down overly warm images. Proper color correction makes your photos more appealing and true to life.
-
Exposure Adjustments: Fine-tune the brightness to make sure the image isn't too dark or washed out. A well-exposed photo highlights details like the texture of walls or the richness of wood finishes.
-
Sharpness: Enhance sharpness to bring out details in your image. Be cautious, as too much sharpness can make the photo look unnatural.
Several smartphone apps offer these editing tools, such as Snapseed and Adobe Lightroom Mobile. For an in-depth understanding of editing terms, explore our Photo Editing Terms Guide.
Avoid Over-Editing
While editing is important, it's easy to go overboard. Here’s how to maintain a natural look:
-
Keep Colors Realistic: While vibrant colors can be eye-catching, ensure they don't look artificial. Over-saturation can be misleading and off-putting to potential guests.
-
Stay True to Details: Avoid excessive filters or effects that alter the actual appearance of your property. Guests expect the space to look as advertised in the photos.
-
Limit Touch-Ups: While removing small blemishes is fine, don't alter the space so significantly that it becomes unrecognizable.
By keeping these editing principles in mind, you ensure your photos not only attract potential guests but also set realistic expectations, ultimately leading to better reviews and repeat bookings.
Capture Details That Show Off Your Unique Selling Points
In a competitive rental market, capturing the unique selling points of your property can make all the difference. Your potential guests are looking for more than just a place to stay; they want an experience. By highlighting distinctive features, you set your listing apart from the rest.
Spotlighting Key Features
To effectively showcase what makes your property special, follow these steps:
-
Identify Key Features: Start by listing the standout elements of your property. This could be anything from custom architecture like vaulted ceilings or exposed brick walls to special amenities such as a private garden or a luxurious bathtub.
-
Plan Your Shots: Once you've identified these features, think about how to best capture them. Consider the time of day when the light is most flattering. For instance, golden hour can add a warm glow to a rustic fireplace or hardwood floors.
-
Use Angles to Emphasize Uniqueness: Experiment with different angles to find the most compelling perspective. For example, shooting from a low angle can make your spiral staircase look grander, while a wide-angle shot can capture the entirety of a spacious open-plan kitchen.
Capture the Ambiance
Beyond just the physical features, aim to convey the ambiance of your space:
-
Focus on Textures: Highlight the textures that add character to your property. A close-up of a handmade quilt or the grain of a wooden dining table can create a sense of coziness and authenticity.
-
Show the Experience: Capture scenes that reflect the lifestyle your property offers. A set breakfast table with a panoramic window view can suggest a serene morning experience, enticing guests to imagine themselves in that setting.
By thoughtfully capturing these details, you can create a compelling visual narrative that resonates with potential guests, increasing the likelihood of bookings. For more insights into capturing stunning real estate photos, explore our Real Estate Photography Tips.
Compare Smartphone and Professional Camera Features
When deciding between using a smartphone or a professional camera for your rental property photos, it's important to weigh the advantages and limitations of each. While smartphones offer convenience and portability, professional cameras often deliver superior image quality and flexibility. Understanding these differences can help you make more informed decisions about your photography needs.
| Feature | Smartphone Cameras | Professional Cameras |
|---|---|---|
| Portability | Extremely portable and easy to carry | Bulky and requires additional gear |
| Ease of Use | User-friendly with automatic settings | Requires knowledge of manual settings |
| Image Quality | Good for web use; limited in low light | High-quality images with better sensors |
| Cost-Effectiveness | Lower initial cost, no extra lenses needed | Higher cost with additional lens options |
| Versatility | Limited lens and accessory options | Interchangeable lenses for diverse shots |
| Post-Processing | Simple in-app editing tools available | Requires computer software for editing |
By understanding the trade-offs between these two options, you can choose the right equipment to effectively showcase your rental property and attract more bookings.
Common Questions
Can I get professional results with a smartphone?
Yes, you can achieve professional-looking results with a smartphone by focusing on key photography principles. Ensure your photos are well-lit, composed using techniques like the rule of thirds, and taken at the highest resolution your phone allows. Many successful Airbnb hosts use only smartphone photos to showcase their properties effectively.
What are the best apps for editing photos on a phone?
Several apps can enhance your smartphone photos significantly. Snapseed and Adobe Lightroom Mobile are popular choices for their comprehensive editing features, including exposure adjustment, color correction, and detail enhancement. Both apps offer intuitive interfaces and can transform your photos into polished images ready for listing.
Do I really need a wide-angle lens for real estate photography?
While a wide-angle lens is not strictly necessary, it can be beneficial for capturing spacious interiors and making rooms appear larger. Many smartphones have built-in wide-angle capabilities or offer affordable clip-on lens options. These tools can be especially useful for highlighting larger areas like living rooms or open-plan spaces, enhancing the appeal of your property photos.
By harnessing the power of smartphone photography, you can significantly elevate the appeal of your rental listings. Remember, the key lies in mastering natural lighting, applying effective composition techniques, and fine-tuning your images with thoughtful editing. As you experiment with these strategies, you'll find that even small adjustments can yield impressive results, transforming your property photos into captivating visuals that draw in more guests and boost your bookings.
Ready to have professional photos?
Our team transforms your existing rental photos into stunning, high-converting images that bring you more bookings. No photoshoot required. 100% refund guaranteed.
Improve My Photos →