Airbnb photo editing tips for better bookings
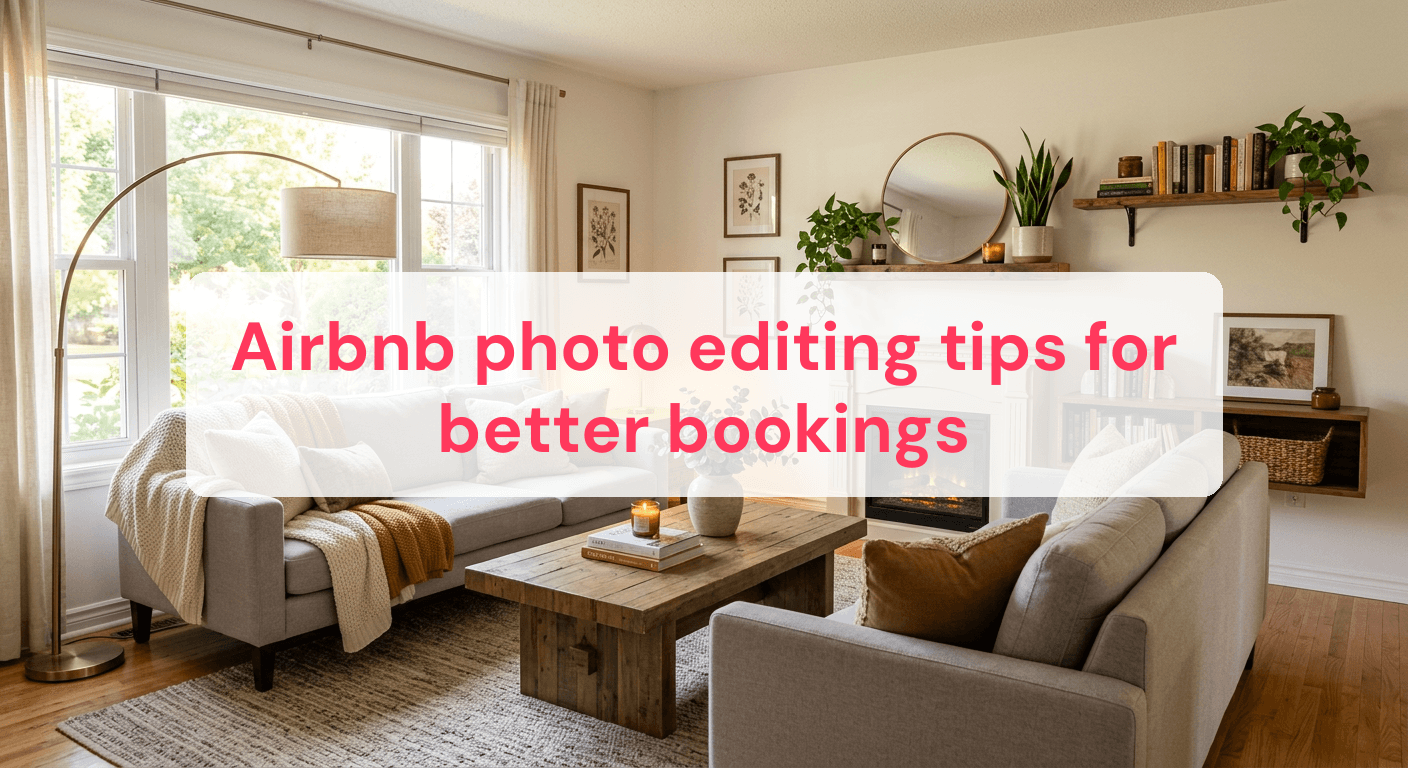
Effective photo editing can significantly enhance Airbnb listings by attracting more views and boosting bookings. By mastering airbnb photo editing tips, hosts can transform ordinary photos into captivating visuals that draw potential guests in. In this guide, you'll discover practical editing techniques to enhance your property photos, avoid common pitfalls, and highlight key features to stand out in a competitive market. You'll learn how to create welcoming atmospheres through lighting adjustments, correct distortions for true-to-life depictions, and refine colors for a cohesive and appealing look.
Enhance Lighting for a Welcoming Atmosphere
Creating a welcoming atmosphere in your Airbnb listing photos starts with effective lighting adjustments. The right lighting can transform a dull space into an inviting and warm environment, encouraging potential guests to book. Here’s how you can achieve this:
Increasing Brightness and Contrast
Adjusting brightness and contrast is key to making your photos stand out. Follow these steps to enhance your images:
- Increase Brightness: Use photo editing software to slightly increase the brightness. This helps illuminate the space, making it appear more open and inviting. Be careful not to overdo it, as too much brightness can wash out details.
- Adjust Contrast: Increase contrast to add depth to your images. This accentuates highlights and shadows, providing a more dynamic look. A balanced contrast ensures that the details in both bright and dark areas are visible.
- Enhance Warmth: Adding warmth to your photos can create a cozy and inviting atmosphere. Adjust the temperature settings to introduce subtle warm tones, like soft yellows and oranges, which evoke a sense of comfort.
Avoiding Overexposure: Key Techniques
Overexposure can lead to loss of detail, particularly in bright areas of your photos. Here’s how to avoid it:
- Use the Histogram: Check the histogram in your editing software to ensure a balanced exposure. Avoid spikes on the right side, which indicate overexposure.
- Adjust Highlights: Lower the highlights setting to recover details in overly bright areas, such as windows or light fixtures.
- Selective Editing: Use selective editing tools to adjust exposure in specific areas without affecting the entire image. This allows for precise control over lighting, enhancing the overall balance of the photo.
By focusing on these lighting adjustments, you can create more inviting and visually appealing rental photos. For more detailed tips, refer to our guide on Edit Airbnb photos for stunning bookings.
Correct Distortions for Accurate Depictions
Ensuring that your Airbnb listing photos accurately represent your space is crucial for setting the right expectations for potential guests. Correcting lens distortions is a key part of this process. Distortions can occur due to the wide-angle lenses often used in interior photography, which can make straight lines appear curved and alter the true perspective of a room.
Spotting Common Distortion Errors
Before you can correct distortions, you need to identify them. Here are common signs to watch out for:
- Barrel Distortion: This appears when straight lines bow outward, resembling a barrel shape. It's most noticeable in the edges of the image.
- Pincushion Distortion: This is the opposite effect, where lines bend inward, resembling a pincushion.
- Keystone Distortion: This occurs when vertical lines appear to converge or diverge due to the camera's angle, typically when shooting upwards or downwards.
Correcting Distortions: Step-by-Step
Once you've identified the distortion types, follow these steps to correct them using photo editing software:
- Open the Image in Editing Software: Import your photo into a software that offers lens correction tools.
- Apply Lens Profile Corrections: Most editing programs have built-in profiles for common lenses. Apply the relevant profile to automatically correct barrel and pincushion distortions.
- Use Manual Adjustments: If automatic settings don't fully correct the distortion, use manual sliders to adjust distortion levels until lines appear straight.
- Adjust Perspective: Use the perspective correction tool to fix keystone distortion. Align vertical and horizontal guides with the lines in your image to straighten them.
- Check the Final Image: After corrections, ensure that all lines appear straight and the room's perspective looks natural.
By correcting distortions, you ensure that your photos provide a true-to-life view of your rental, helping to build trust with potential guests. For more detailed photo editing strategies, explore our Professional photo editing tips for stunning results.

Highlight Key Features with Strategic Cropping
Strategic cropping makes your rental photos stand out by focusing on the property's most appealing aspects. By removing unnecessary elements, you can direct the viewer's attention to what truly matters, enhancing the overall impact of the image.
Selecting Focal Points
Identify Key Features: Before you begin cropping, determine the elements you want to highlight. This could be a stunning fireplace, a spacious kitchen island, or a panoramic view from the window.
Use the Rule of Thirds: Divide your image into a 3x3 grid and position key features along these lines or at their intersections. This technique helps create a balanced composition that naturally draws the viewer's eye.
Enhance Symmetry: In spaces where symmetry is a feature, such as a perfectly aligned dining table, crop to reinforce this balance. Symmetrical compositions are often more pleasing and can emphasize the room's harmony.
Common Cropping Mistakes to Avoid
Over-Cropping: While it's tempting to zoom in on a particular detail, avoid cropping too tightly. This can eliminate context and make the space feel cramped. Maintain some of the surrounding environment to give a sense of space.
Ignoring Context: Be cautious not to crop out important parts of the room that provide context, such as a portion of a beautiful archway or the edge of a designer sofa. These elements can add to the room's allure.
Before-and-After Examples:
- Before: An image of a living room includes cluttered cables and a corner of the TV stand.
- After: Cropped to remove distractions, focusing on the cozy seating area with a view of the fireplace.
By applying these strategic cropping techniques, you can highlight your property's best features and create more compelling images that capture potential guests' attention.
Refine Colors for a Consistent Look
Achieving a consistent color palette across your Airbnb photos can significantly enhance your listing's visual appeal. By refining colors, you create a cohesive aesthetic that ties together different rooms and spaces, presenting a unified and inviting atmosphere.
Balancing Colors for Cohesion
Adjust White Balance: Start by setting the correct white balance to ensure that whites appear true and not tinted with any unintended hues. This step is crucial in maintaining a neutral base for further color adjustments.
Use Color Grading: Apply color grading techniques to harmonize the tones across your photo set. This can involve adjusting the shadows, midtones, and highlights to achieve a desired mood or style.
Consistent Saturation Levels: Ensure that saturation is consistent across all images. Over-saturated colors can look unnatural, while under-saturated images might appear dull. Adjust saturation to enhance vibrancy without losing realism.
Maintaining Natural Color Balance
Maintaining a natural color balance is essential to ensure that your photos remain realistic and inviting. Here are some tools and techniques to consider:
- Hue/Saturation Adjustments: Use these sliders to fine-tune specific color ranges, enhancing or subduing particular hues as needed.
- Color Temperature Control: Adjust the warmth or coolness of your images to match the natural lighting conditions of the space. A slightly warmer temperature can make a room feel more welcoming.
- Avoid Over-Filtering: While filters can add style, overuse can lead to unnatural tones. Use subtle filters to maintain authenticity.
By refining colors and maintaining a consistent look, your photos will not only be more visually appealing but also more likely to resonate with potential guests. For more insights on enhancing your rental photos, explore our Airbnb Photo Tips That Maximize Your Booking Potential.
Airbnb Photo Editing Tips That Boost Bookings
Improving the quality of your Airbnb photos can significantly impact your booking rates. By using specific editing techniques, you can make your listings more attractive and inviting to potential guests. Here are some proven methods to enhance your images.
Proven Techniques to Increase Appeal
Enhance Image Sharpness: Ensuring your photos are sharp and clear can make a big difference. Use sharpening tools to enhance details like textures in fabrics or wood grains in furniture. However, avoid over-sharpening, which can create unwanted artifacts and look unnatural.
- Adjust Lens Blur: Add a subtle blur to the background to highlight key features like an elegant dining table or a cozy reading nook. This technique, often called depth of field, draws the viewer's attention to the main subject.
- Focus on Details: Zoom in on unique features, such as intricate tile work or high-end appliances, to showcase the quality and style of your property.
Emphasizing Spatial Flow
Creating a sense of flow throughout your photos can help potential guests visualize themselves in the space. Here's how to achieve this:
Use Leading Lines: Incorporate leading lines, such as the edge of a countertop or the curve of a staircase, to guide the viewer's eye through the image. This technique helps in creating a natural path for the viewer to follow.
- Capture Multiple Angles: Take photos from different perspectives to provide a comprehensive view of the space. This approach helps potential guests understand the layout and flow between rooms.
- Highlight Open Spaces: Emphasize the openness of living areas by capturing wide shots that show the connection between different spaces, like the kitchen and living room.
By applying these editing techniques, you can create compelling images that enhance the appeal of your Airbnb listing. For more insights, explore our Best Photo Editing Apps to Transform Your Rental Listings.
Common Questions
What software is best for editing photos?
The best software for editing photos depends on your needs and skill level. Beginners might prefer user-friendly programs like Lightroom or Snapseed, which offer intuitive interfaces and essential editing tools. More advanced users may opt for Photoshop or Capture One, which provide a comprehensive set of features for in-depth photo manipulation.
How can I make small rooms look larger?
To make small rooms appear larger, use techniques like wide-angle photography and strategic placement of mirrors. Ensure the room is well-lit by maximizing natural light or using artificial lighting strategically. Additionally, declutter the space to create a sense of openness and remove any unnecessary items that might make the room feel cramped.
Do I really need a wide-angle lens for this?
A wide-angle lens is not strictly necessary, but it can be highly beneficial for capturing more of the room in a single shot. This type of lens helps showcase the full layout and spatial relationships within smaller or uniquely shaped rooms. If you don't have a wide-angle lens, consider using panorama settings or stitching multiple images together to achieve a similar effect.
How often should I update my photos?
Update your photos whenever there are significant changes to your property, such as renovations or redecorations. Regular updates every six to twelve months can also keep your listing fresh and appealing. Seasonal changes or new amenities should be reflected in your photos to accurately represent your rental.
What should I avoid when editing photos?
Avoid over-editing your photos, as this can lead to unrealistic and unappealing images. Keep enhancements subtle to maintain authenticity and avoid using excessive filters that may distort colors. Additionally, steer clear of misleading angles or edits that misrepresent the true size or condition of the space, as this can lead to guest dissatisfaction.
By focusing on enhancing lighting, correcting distortions, and strategically cropping your photos, you can create a more inviting and accurate representation of your rental space. Refining colors further ensures a consistent and appealing look across your photo set. These techniques not only make your listing more visually attractive but also increase the likelihood of converting views into bookings. Apply these insights to maximize your property's potential.
Related reading
Ready to have professional photos?
Our team transforms your existing rental photos into stunning, high-converting images that bring you more bookings. No photoshoot required. 100% refund guaranteed.
Improve My Photos →